

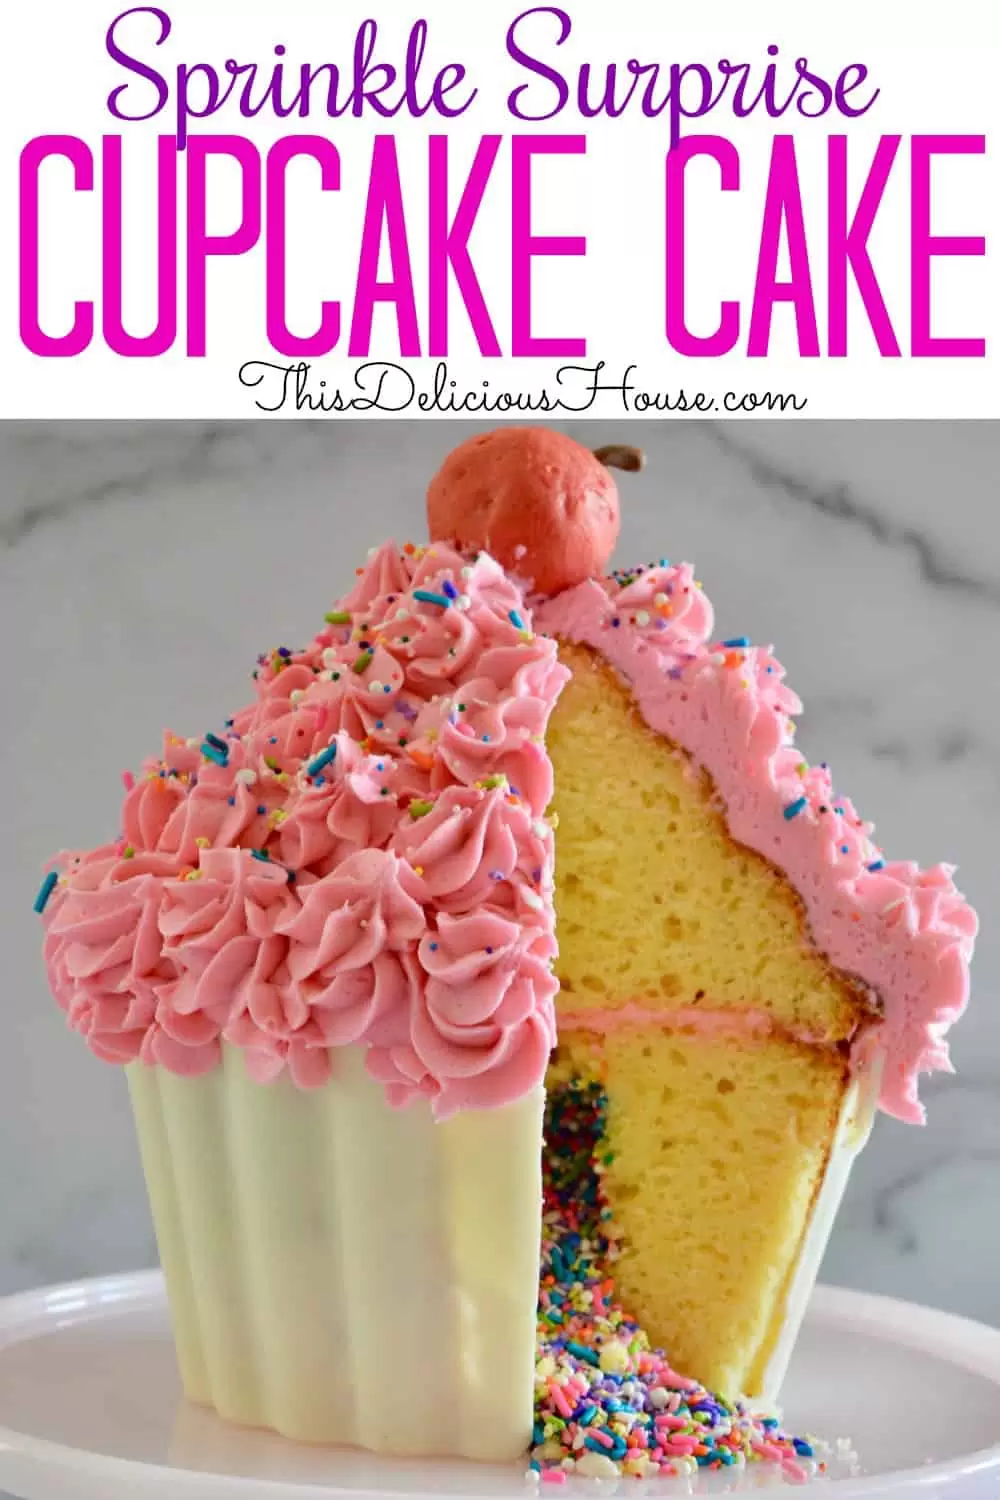
How To Make Large Cupcakes For Outside Decorations
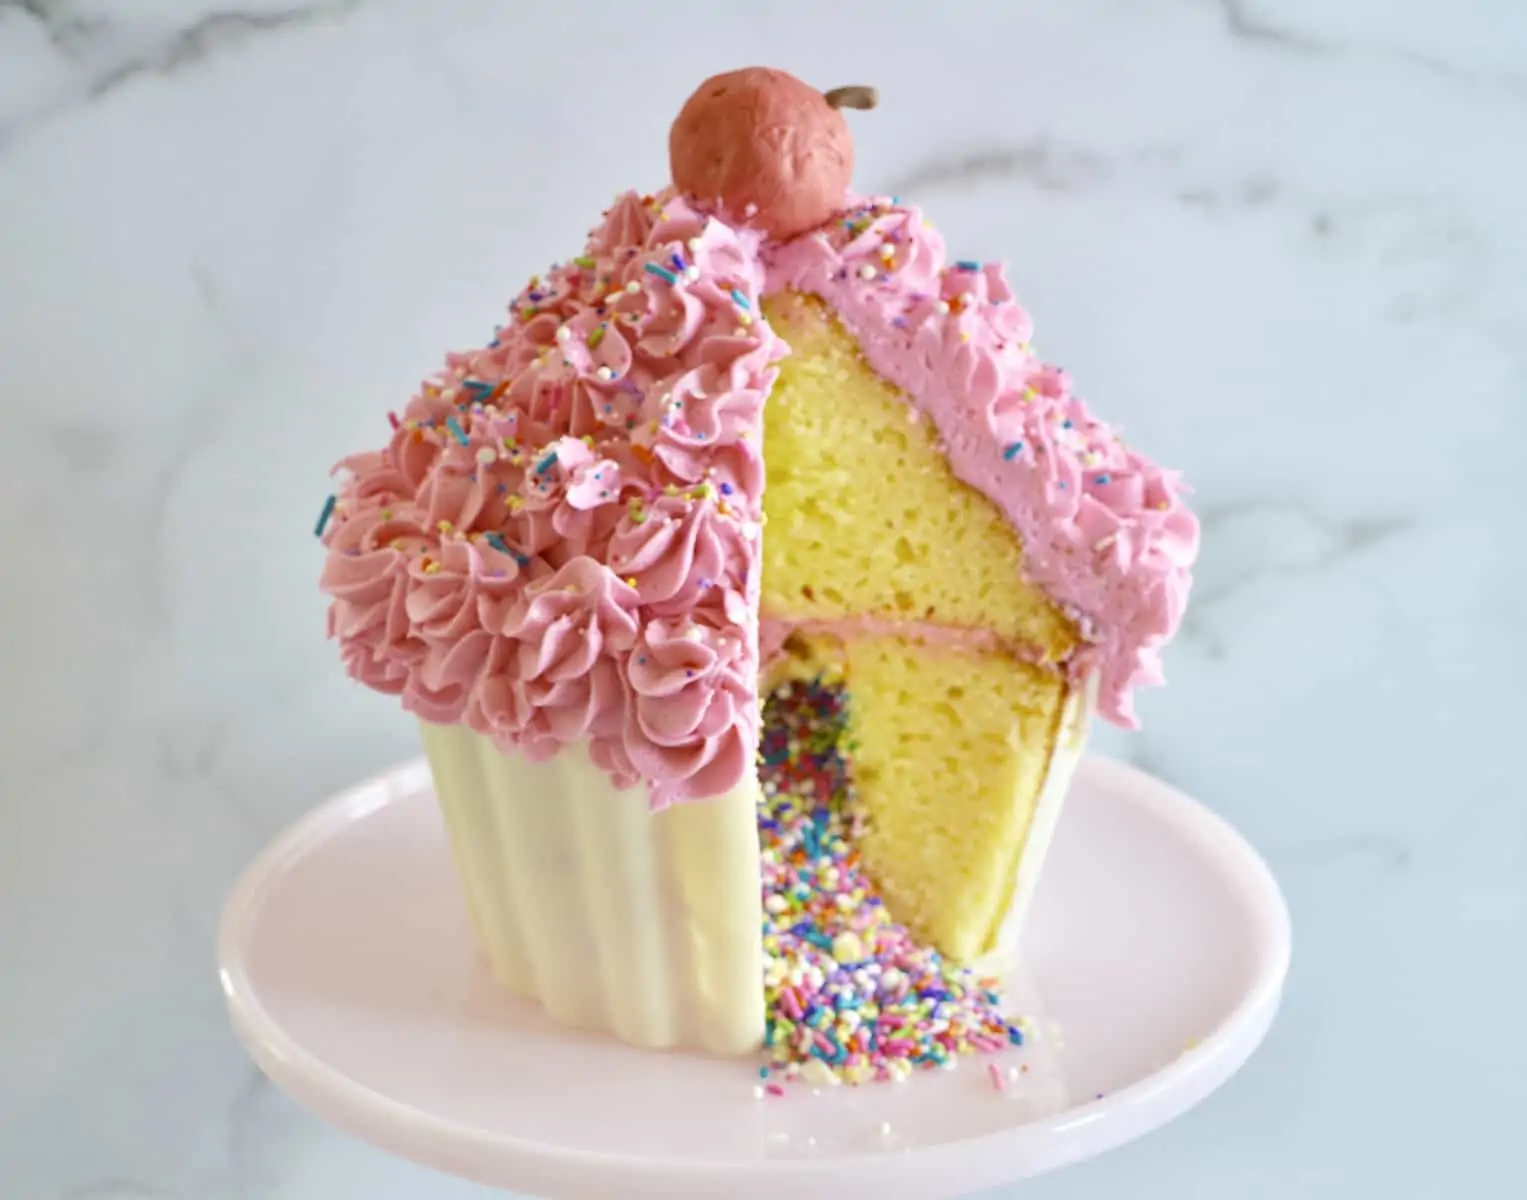
Complete instructions on how to make a Giant Cupcake Block with a sprinkle piñata surprise and hard crush cupcake liner. Don't miss this sprinkle surprise cupcake block pan tutorial that includes a cake truffle cherry on top!
If y'all ever wondered how to make a giant cupcake cake, at present'southward your run a risk to meet exactly how it done. What may look daunting, is surprisingly easy and perfect for your next party.
I will provide you the basic instructions on how to put together a giant cupcake cake filled with sprinkles. Too equally testify you how to brand a giant cupcake pan liner using candy coating. Experience gratis to customize this cake to your liking using your favorite block batter and colors.
Giant Cupcake Cake Pan
So it all starts with the right pan. Here is used the Wilton Giant Cupcake Pan but there are many other variations of this blueprint at present bachelor. Y'all could do a Behemothic Cupcake Silicon Mold which I've never tried but imagine would be dandy for storage purposes.
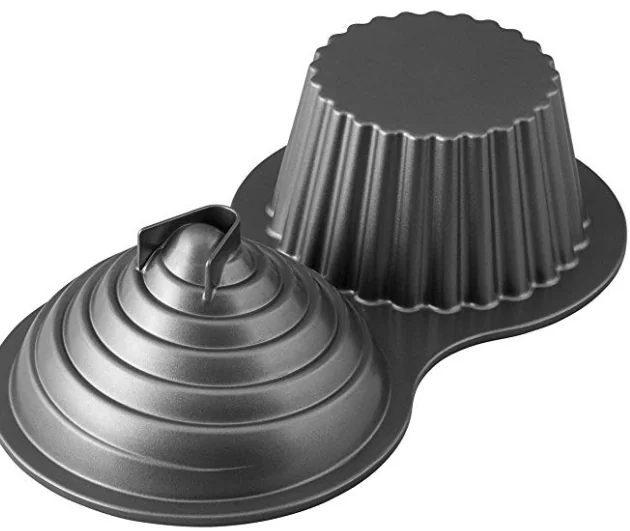
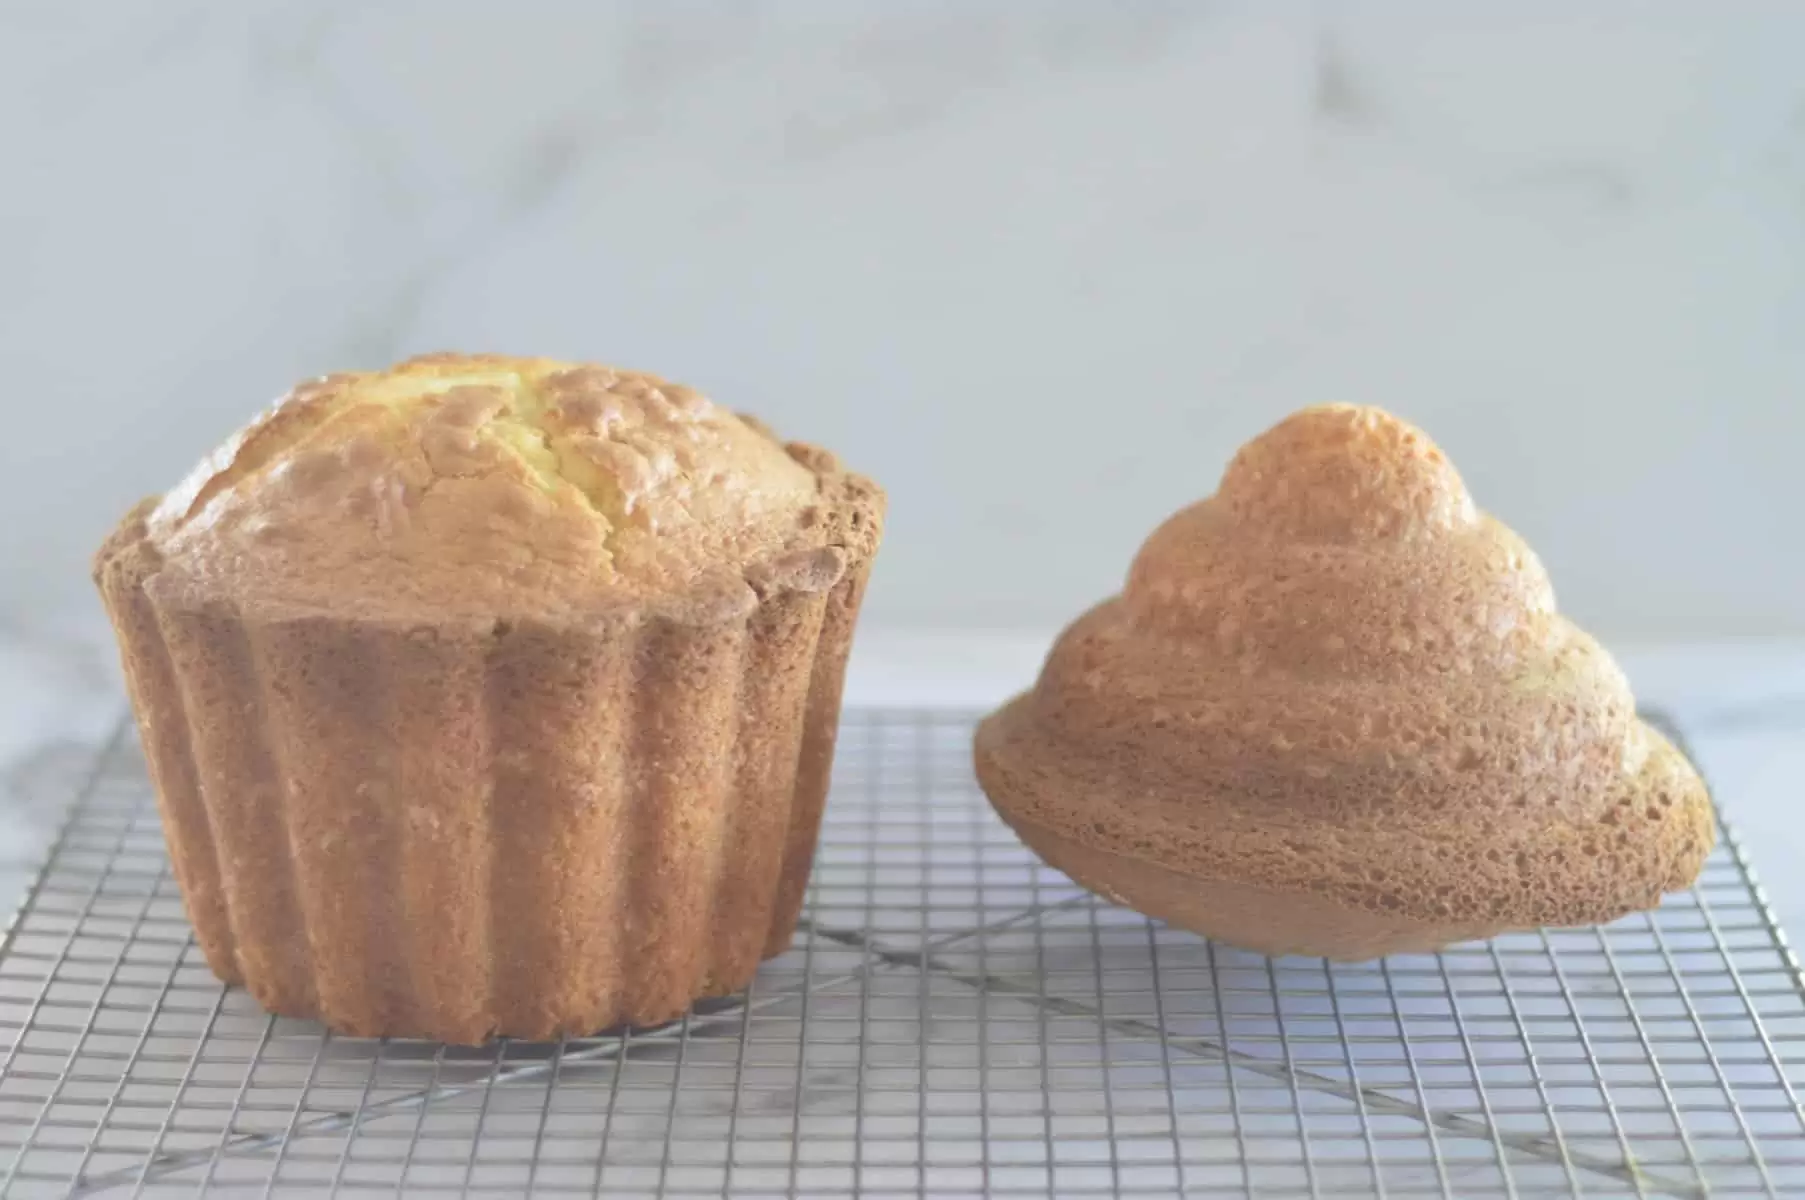
As you can see the pan is shaped with a cupcake bottom and swirled cupcake meridian. Later on doing a bunch of research on this cake, I discovered that the biggest complaint was that the bottom part of the cupcake took longer to bake than the summit leaving for uneven cooking times. Luckily I figured out how to alleviate this problem.
Pace ane: Brand the Cake Base
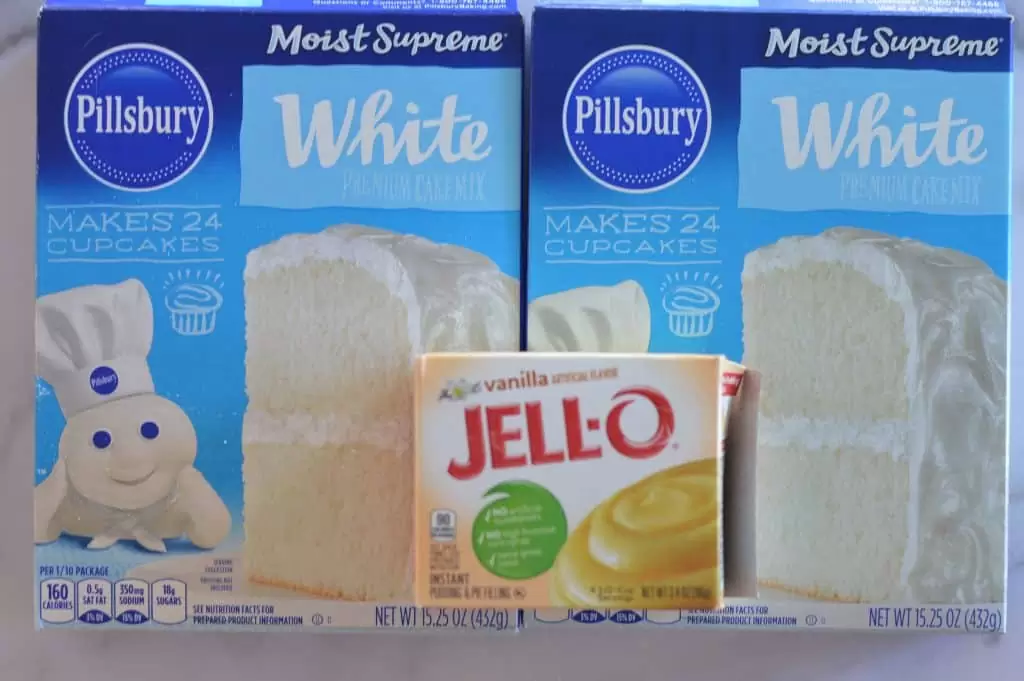
To beginning, you lot desire to double your recipe for basic cake concoction. To keep things simple, I used my favorite box mix paired with a parcel of jello pudding. This helps to yield a denser more flavorful block, perfect for the cupcake pan.
I took a major shortcake using boxed cake mix, only if you wanted to brand a homemade batter try this delicious Homemade Yellowish Cake Mix recipe merely be sure to double the recipe.
Firstly, I made the batter by prepping as instructed on the boxes and adding in the vanilla pudding mix. Next, preheat your oven to 350 degrees. Grease the cupcake bottom portion of the pan using cooking spray or Wilton Block Release.
How to accommodate for varying broil times
After making this cake a couple of times, I discovered that the base portion of the cake needs about 10 minutes more baking time than the top. So to combat this I broil the bottom for 10 minutes before adding batter to the top portion. To keep the top from getting likewise hot and burning when I add the batter, I simple place a damp towel inside.
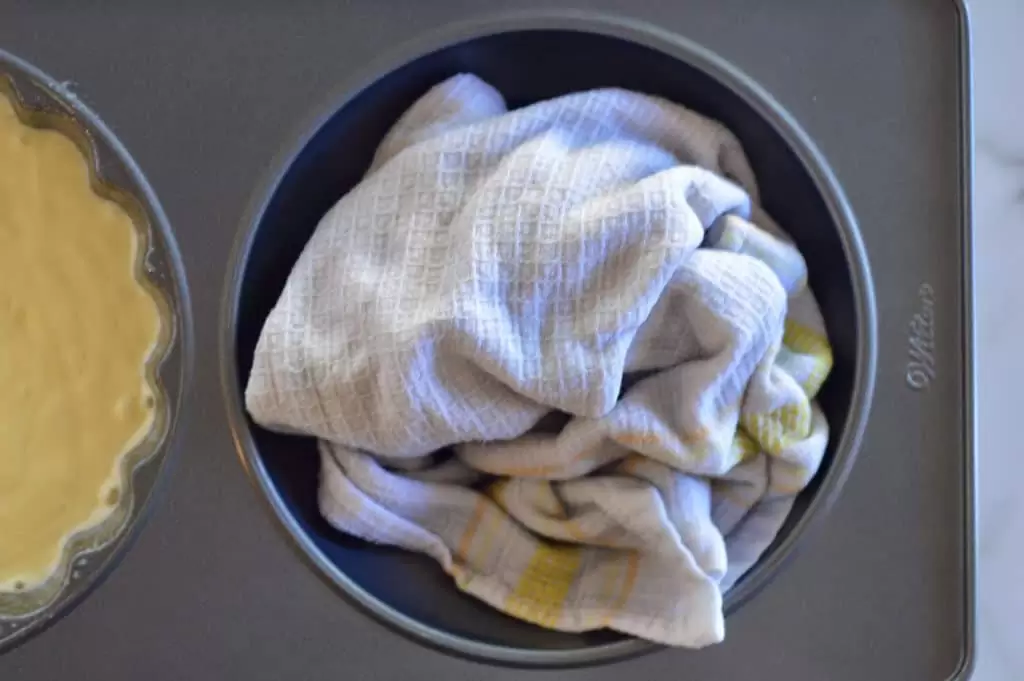
Fill the other side of the pan with concoction, beingness sure to coat it well first. The official Wilton site says to utilize three ½ cups of batter, but that doesn't seem to exist enough concoction to yield a full cupcake. I usually merely fill until most an 1 ½ from the acme.

Bake for 10 minutes, and so carefully remove from oven and utilize tongs to remove the damp towel. If there is whatsoever water, use a dish towel to dry if out. Spray with cooking spray and cascade in the batter for the meridian of the cupcake cake leaving about ane ½ inches from the tiptop. Render to oven and bake for twoscore-50 minutes or until a toothpick inserted in the block comes out clean.
Cool on a wire baking rack for at to the lowest degree 10 minutes before removing the cake from the pan.
Step ii: Make the Giant Cupcake Liner
Initially this was the nearly challenging function of making the cake. Yet, later on many tries and fails, I have discovered how to master making a candy coated giant cupcake liner.
Firstly, thoroughly wash and dry out the bottom cupcake portion of cupcake pan. Next, set up the candy coating. To do this, microwave a bag of Wilton Processed Melts according to package instructions. Pour half of the melted candy into the bottom of the cupcake bottom.
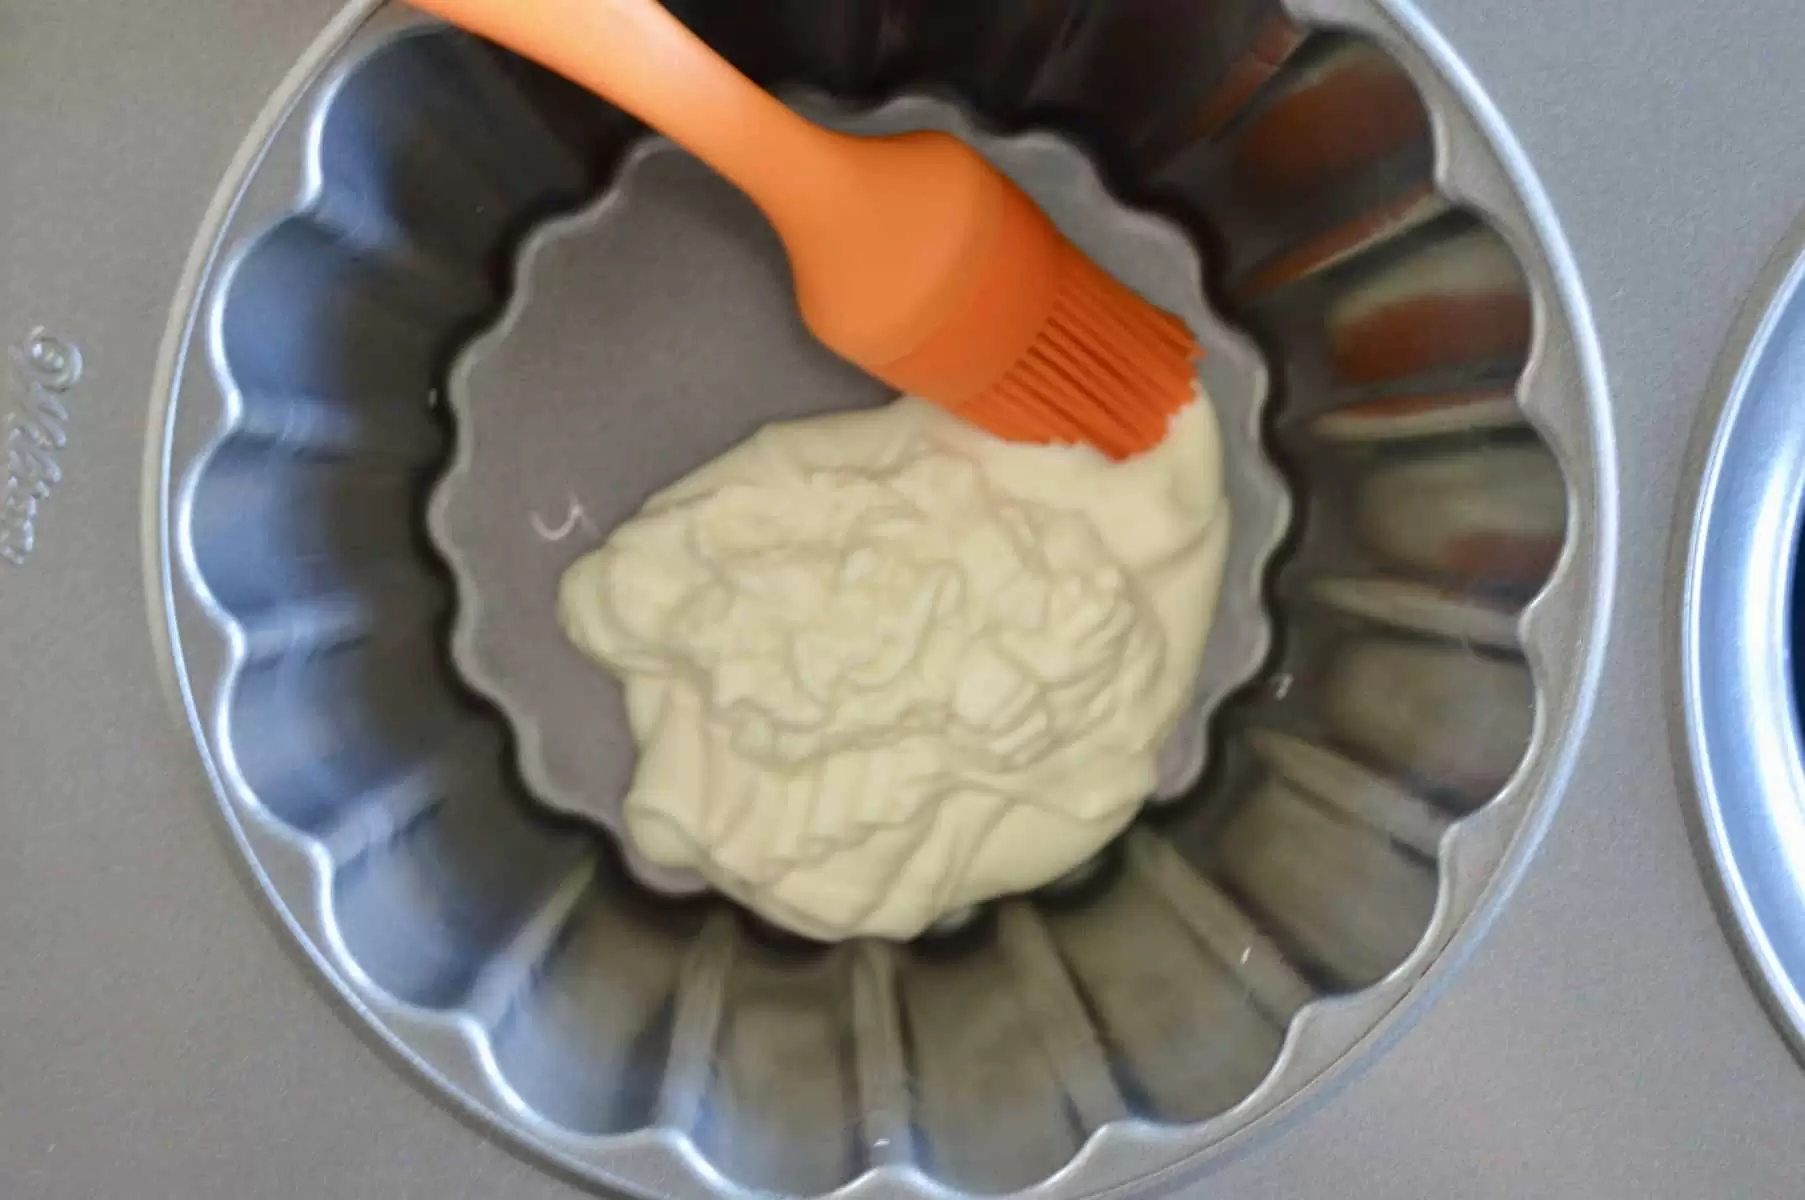
Utilize a silicon pastry brush to brush upward the sides. Place in refrigerator for five minutes to let harden. Note that the within of the cupcake line doesn't have to look pretty.
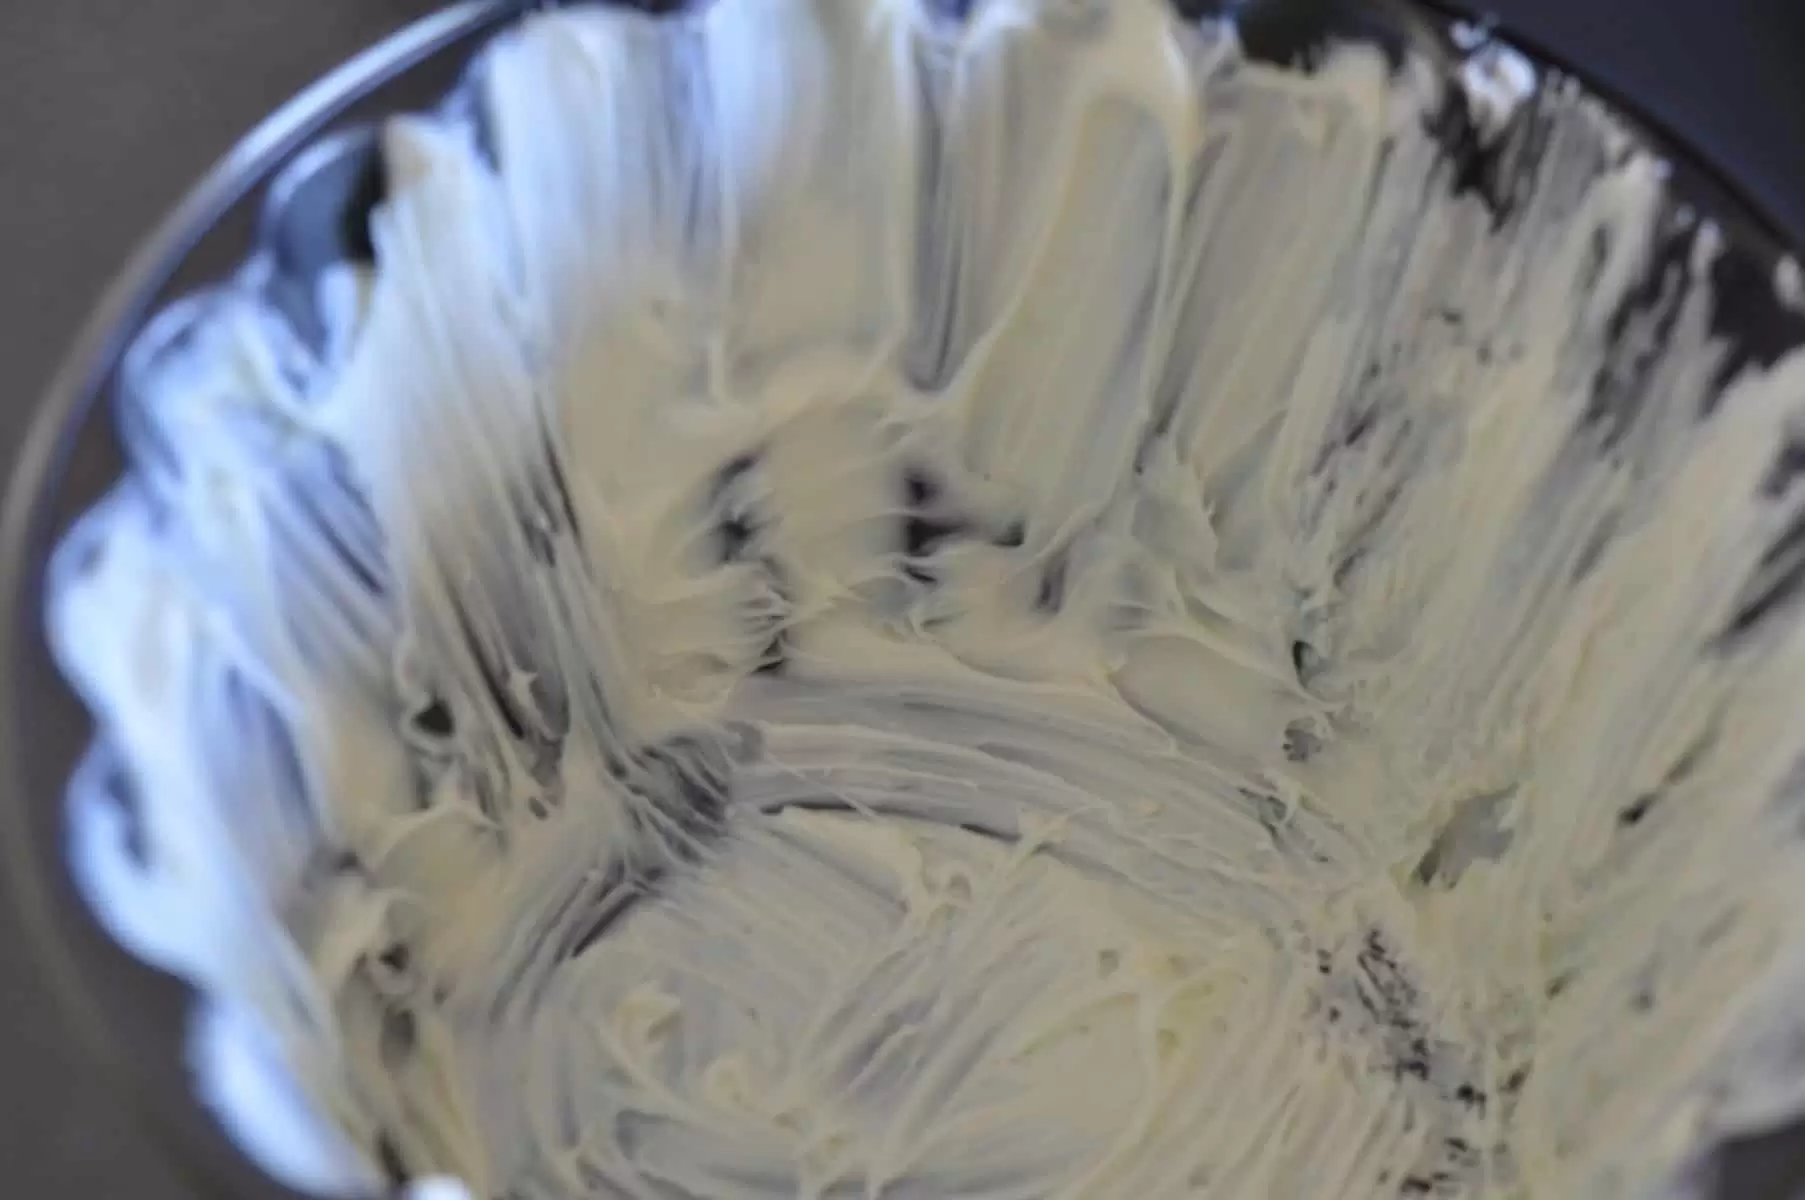
If needed, reheat the remaining candy melts in the microwave. Pour the residue of the candy melts into the cupcake mold and repeat process of painting the sides. Return to fridge to harden completely.
Behemothic Cupcake Liner tip!
Here's the tip for getting the liner out: if you are unable to easily pull the shell out of the cupcake mold, stick the pan in the freezer for a couple of minutes. Yous should exist able to easily remove the liner without any force. The couple minutes in the freezer usually help to loosen it without pulling.

Don't worry about the pinnacle of the cupcake liner looking jagged, it will be hidden with the peak of the cupcake and frosting. As well, if the cupcake liner breaks, but crumble it upward and start over. Candy melts can exist melted and remelted without any issues.
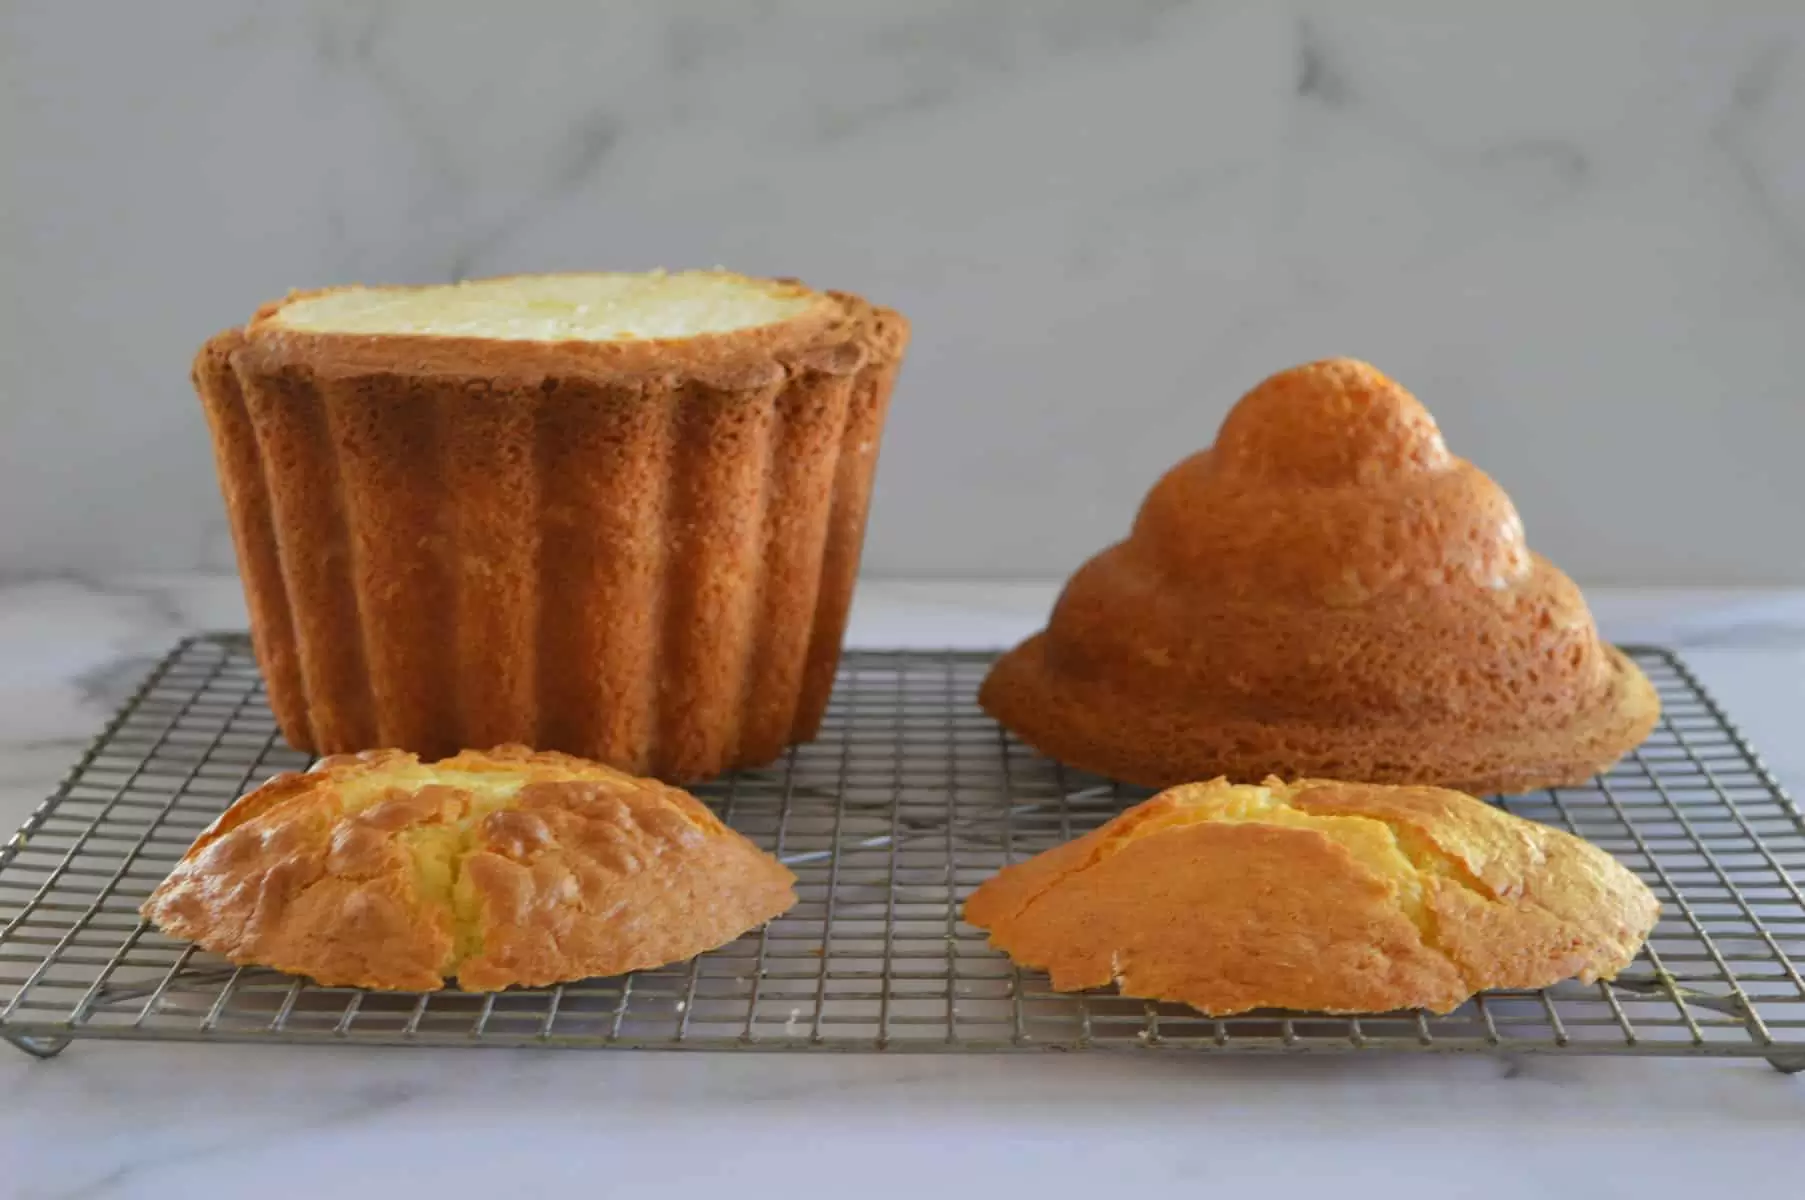
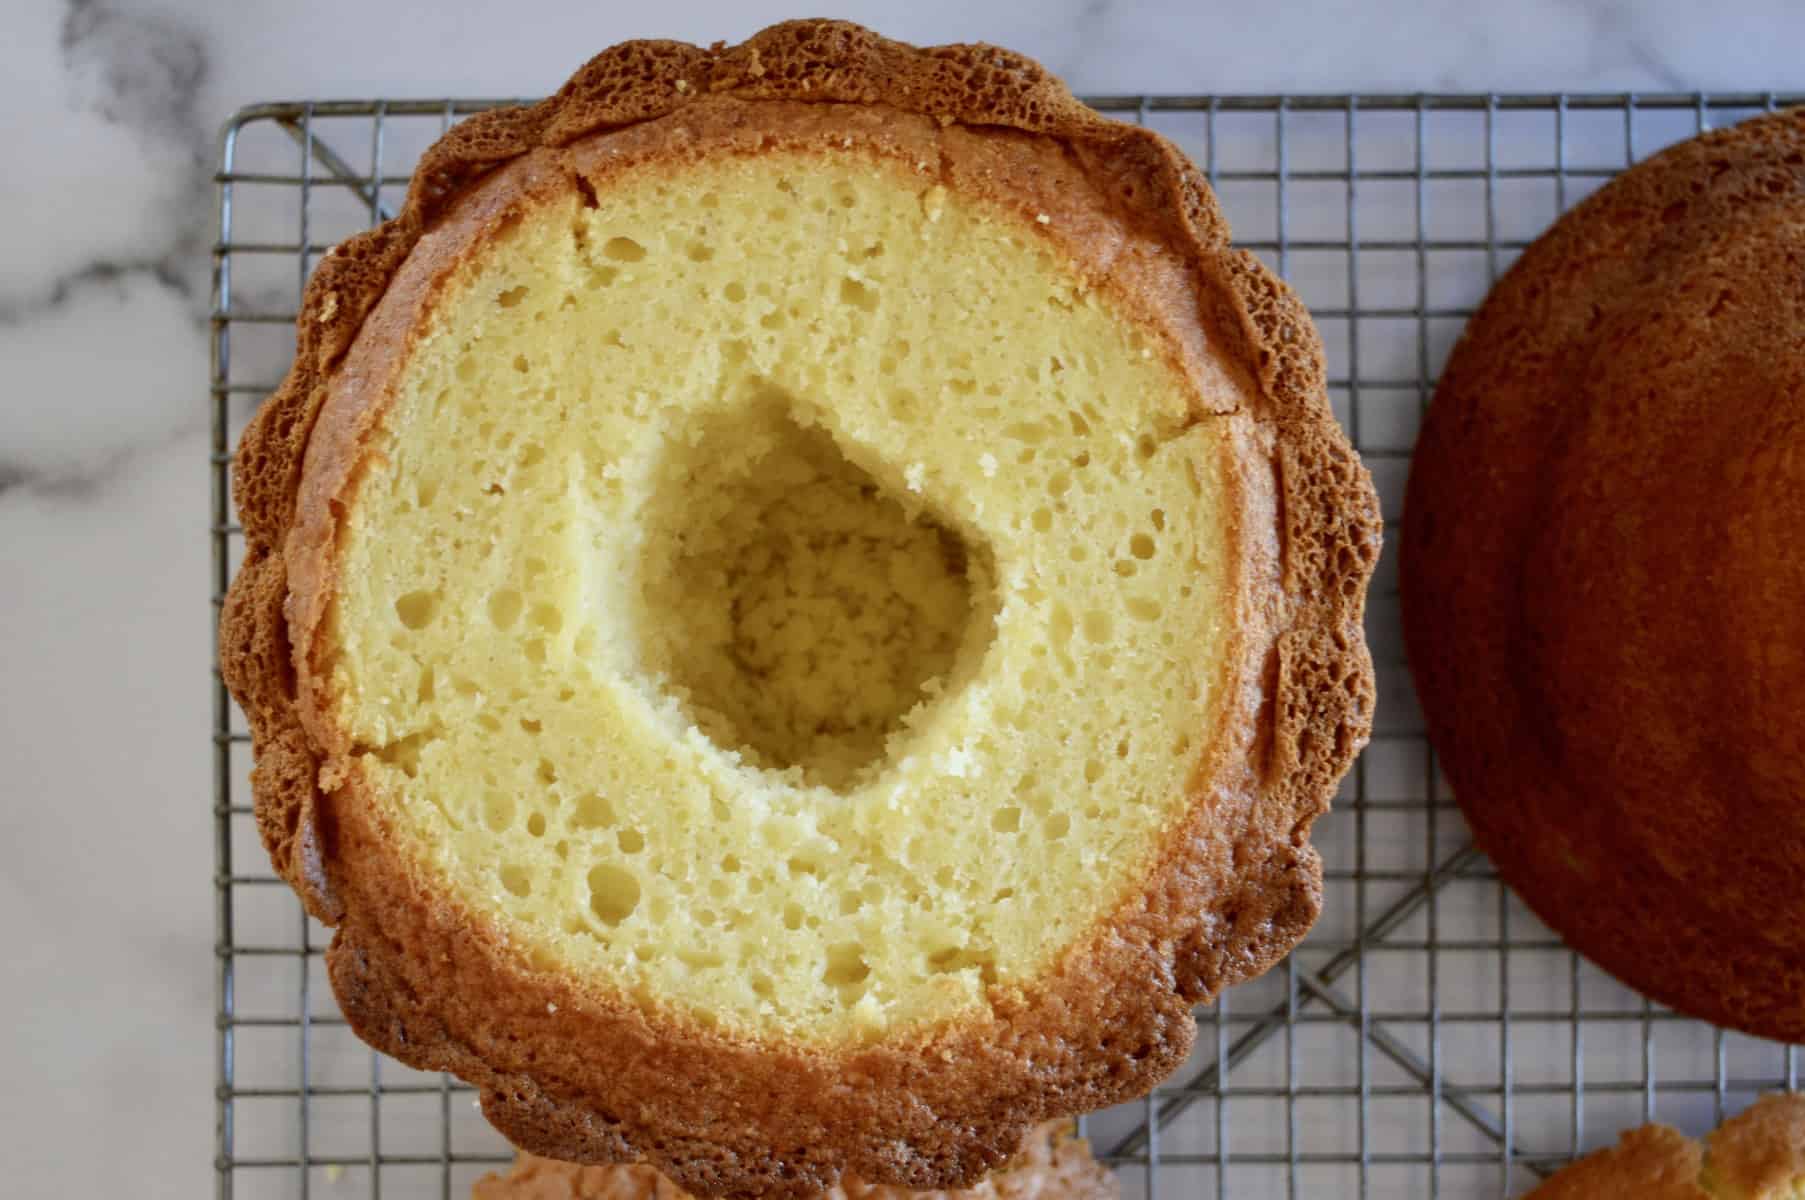
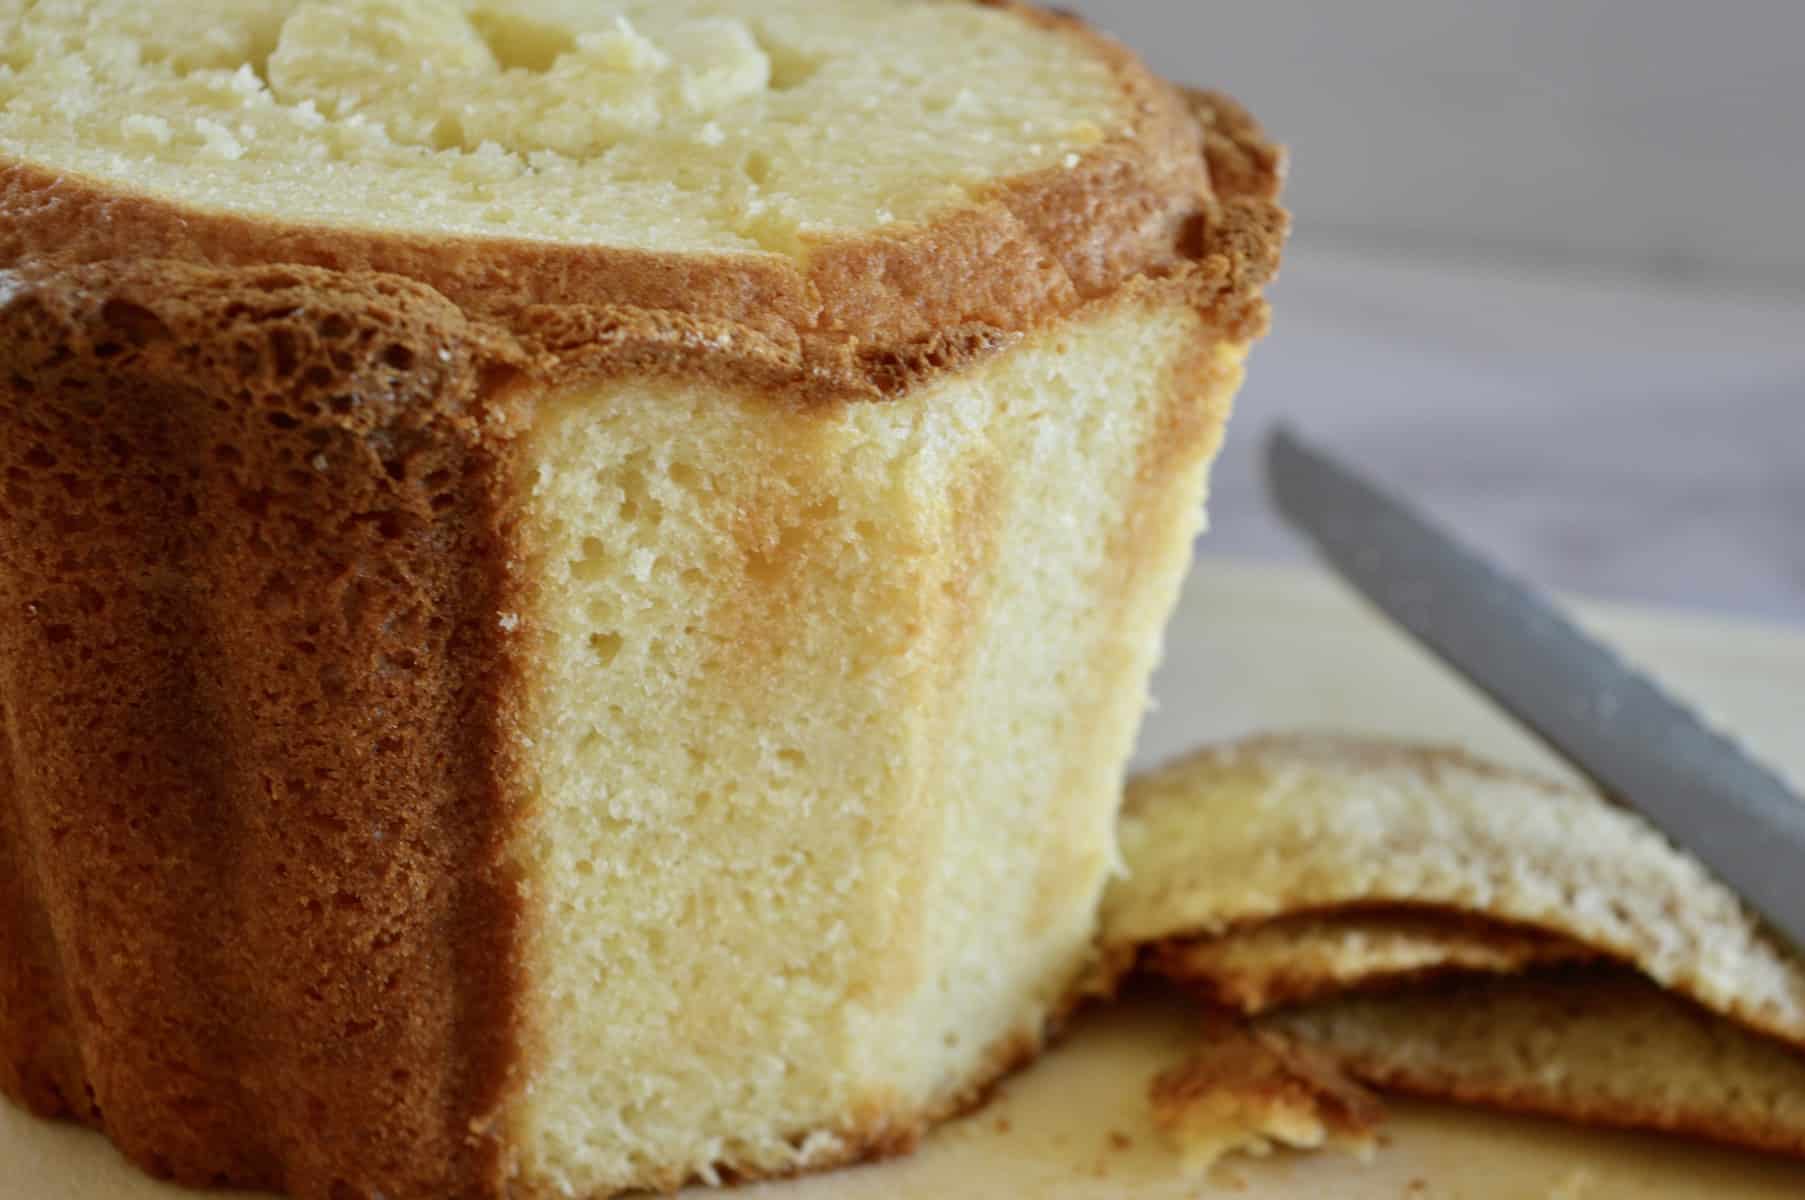
Stride 3: Trim the Block and Fill
One time the cake has cooled, use a serrated knife to trim the pieces to grade the cupcake shape. Flatten the top of the bottom of the cupcake. For the top of the cupcake, you can place the cake dorsum in the pan equally a holder while you lot trim that piece. Save the scraps if you plan on making a cherry height for the cake.
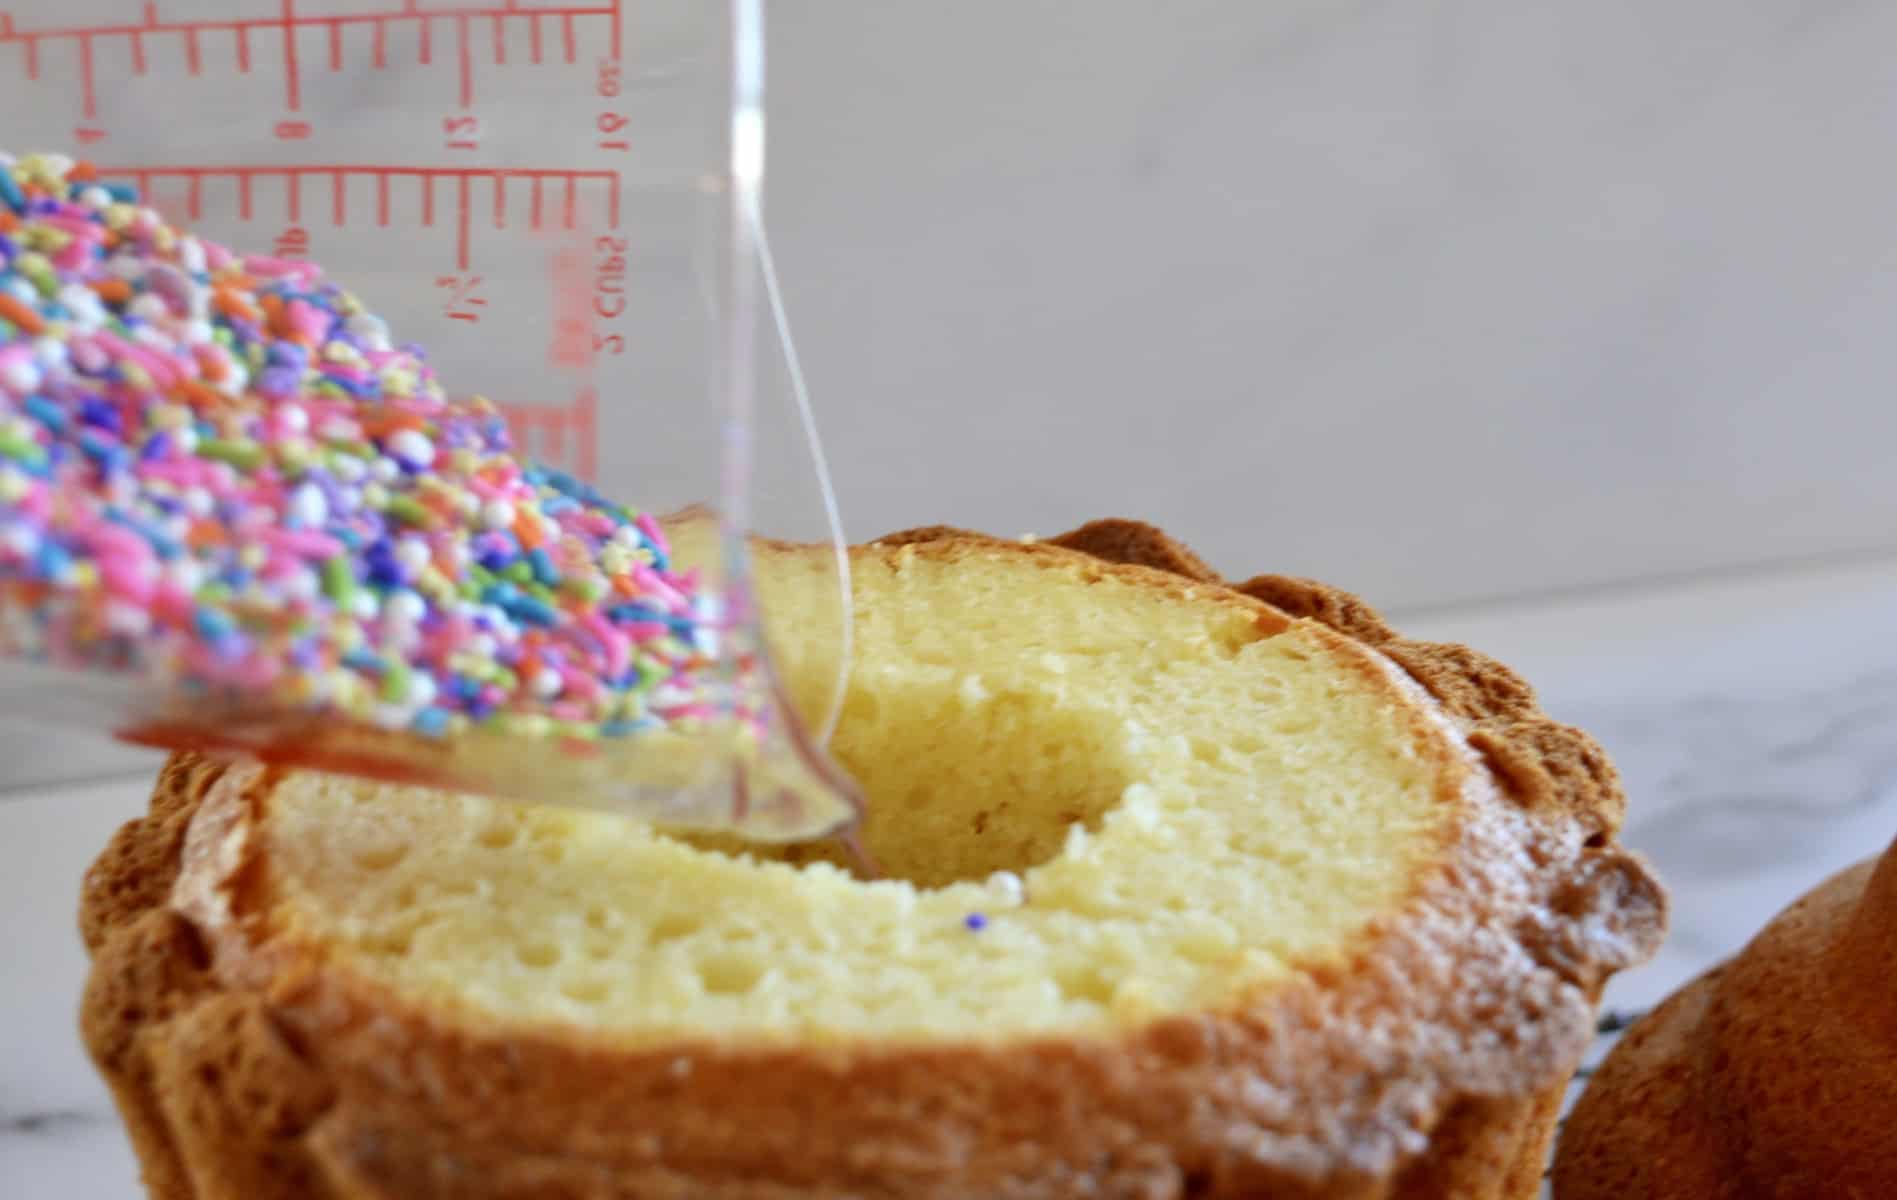
If yous are filling the cake with sprinkles or candy, use a pocket-sized serrated pocketknife to cut a 2 inch circular on the peak of the cake going about 4 inches deep. Remove the center piece saving the top one-half for plugging the sprinkles hole.
Pour in the sprinkles, about ½ a cup should work. Alternatively, you could fill the pigsty with M&M's or Reese'due south Pieces.
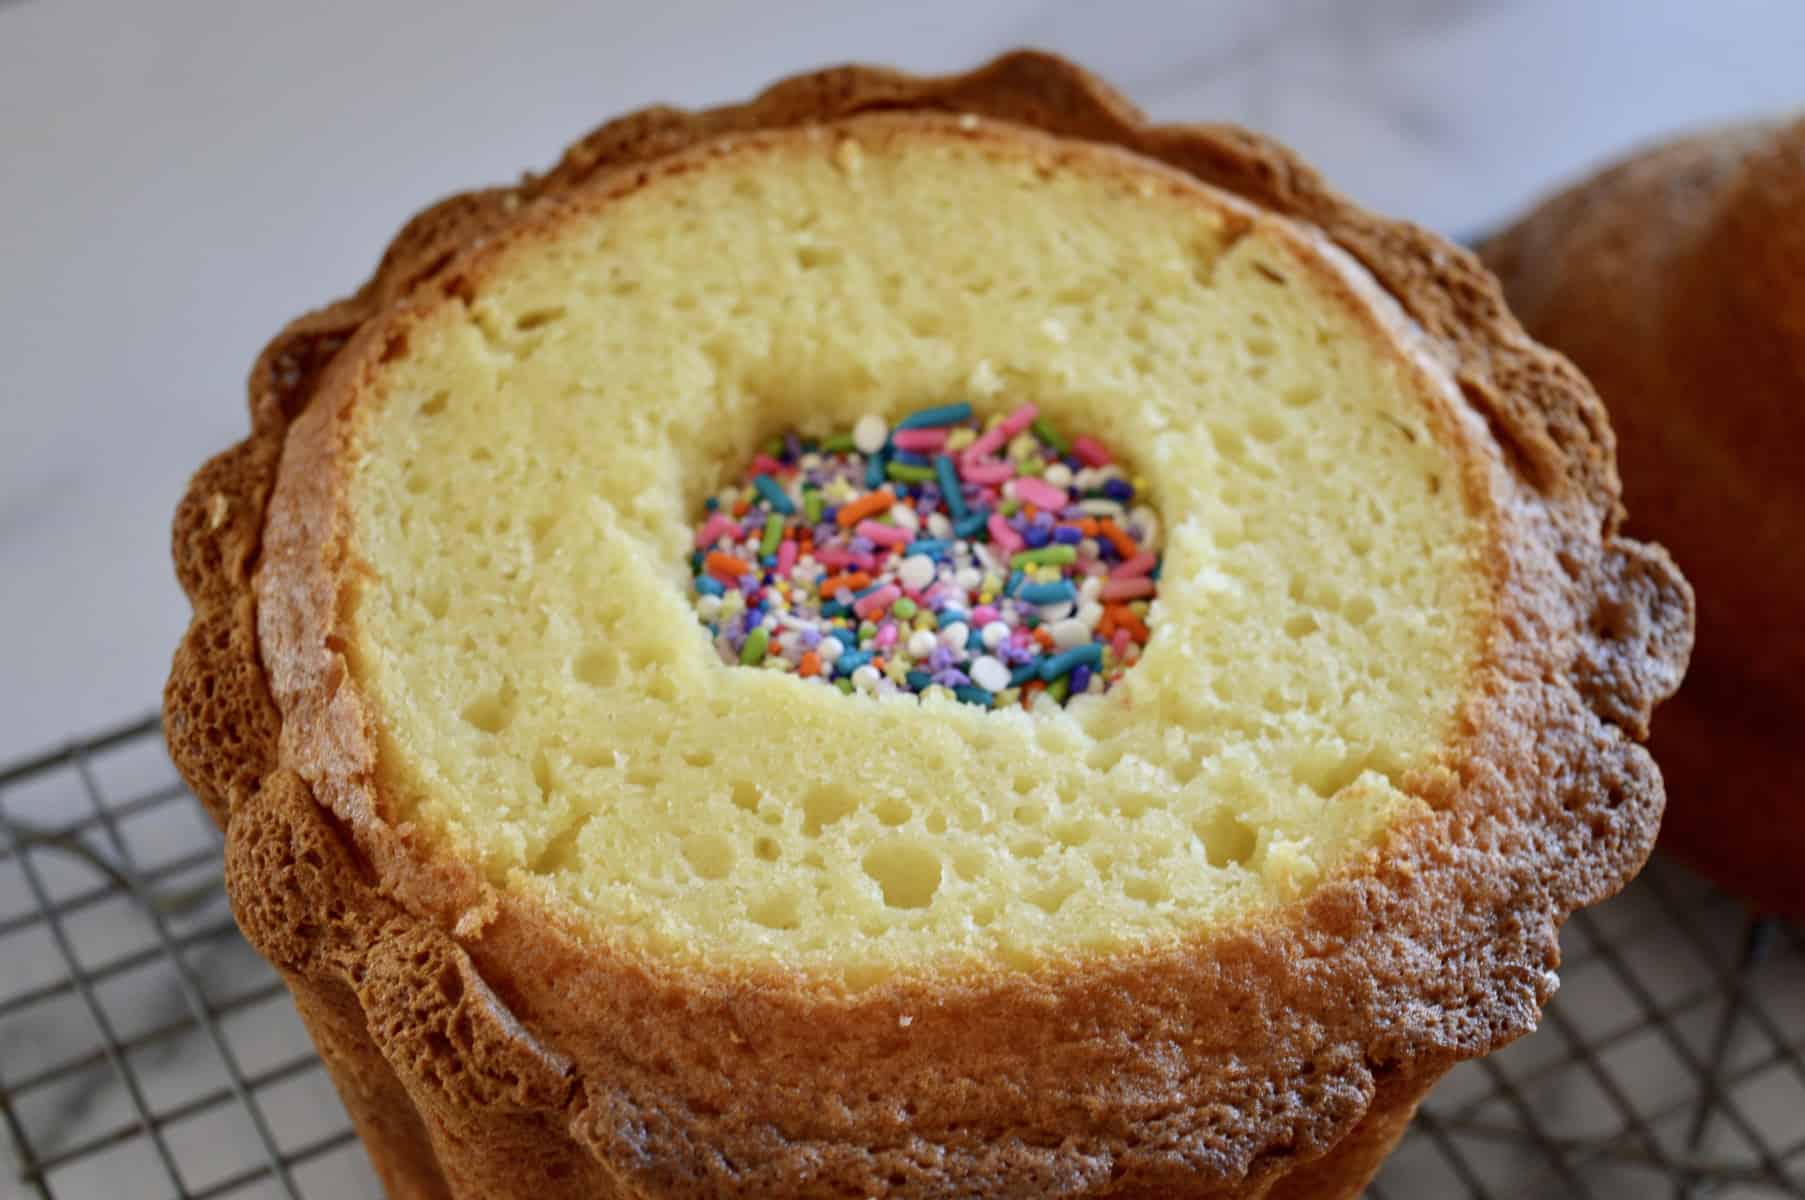
Cover up the hole with the cake piece you cutting away.
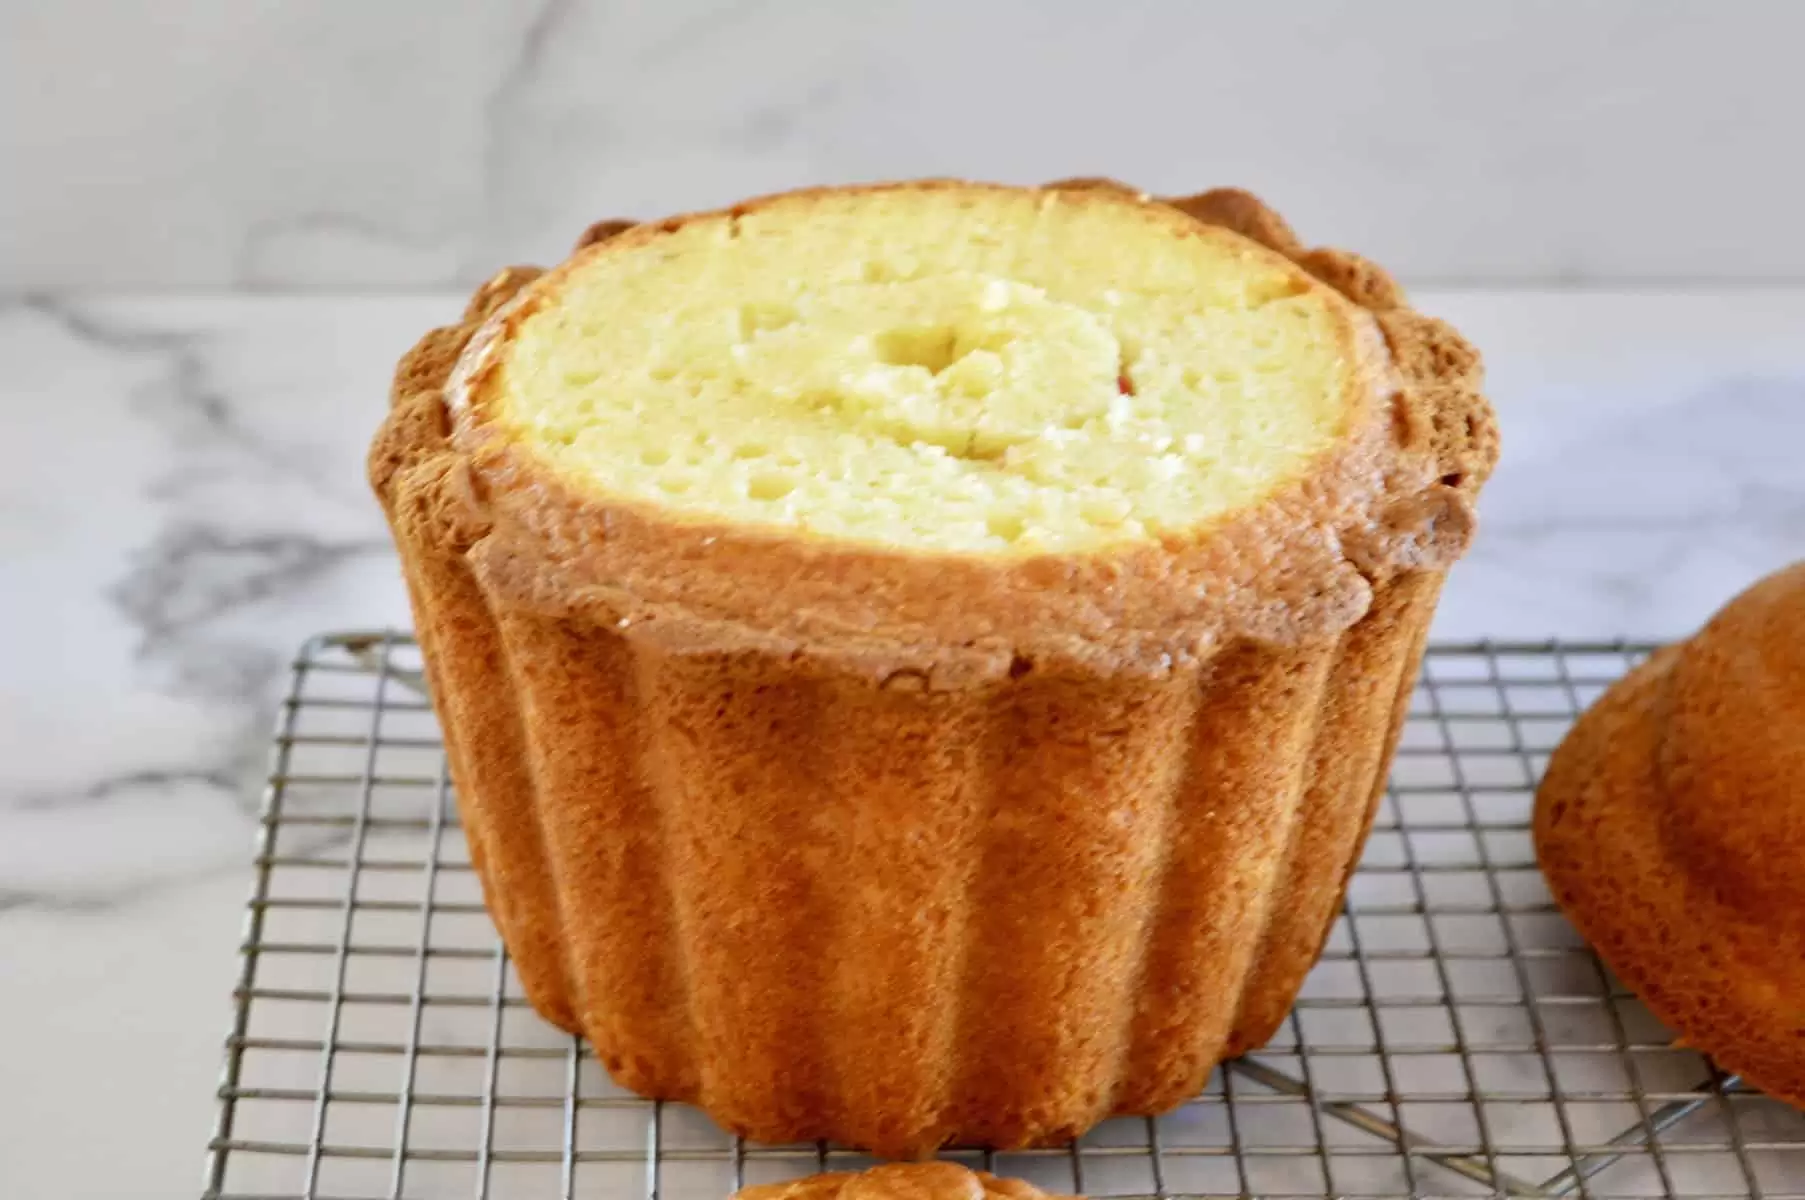
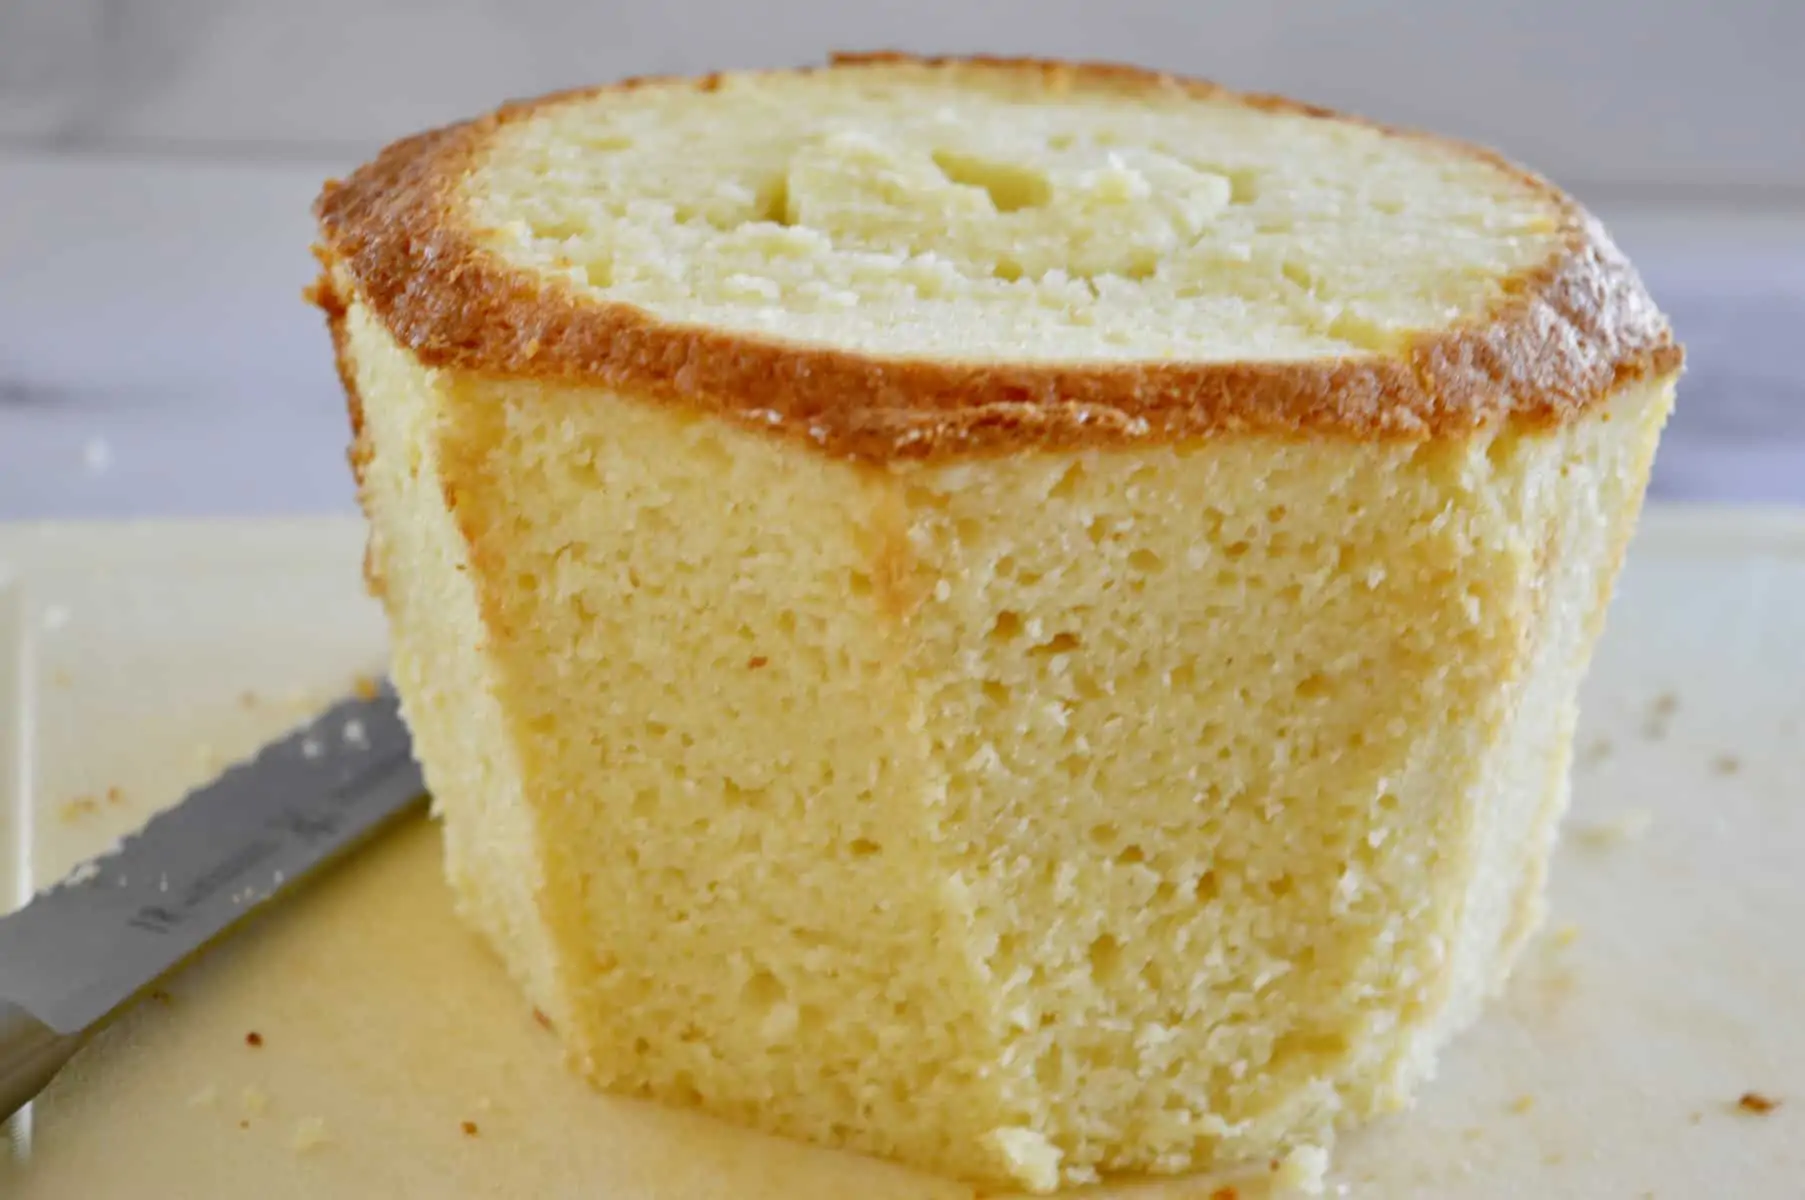
Trim the Cupcake Base of operations
Adjacent, y'all will need to trim away the sides of the cupcake base of operations and then that information technology tin fit in the processed shell liner. If you go out it likewise big, y'all run a risk breaking the trounce.
The best way to do this is with a serrated pocketknife. Merely trim off the sides. You don't need to take off a lot and be sure to salvage any backlog cake pieces.
Next, carefully place the cupcake base into the candy coated liner. Note, that information technology's best to practice this on your cake brandish stand to avoid having to move the cake later.
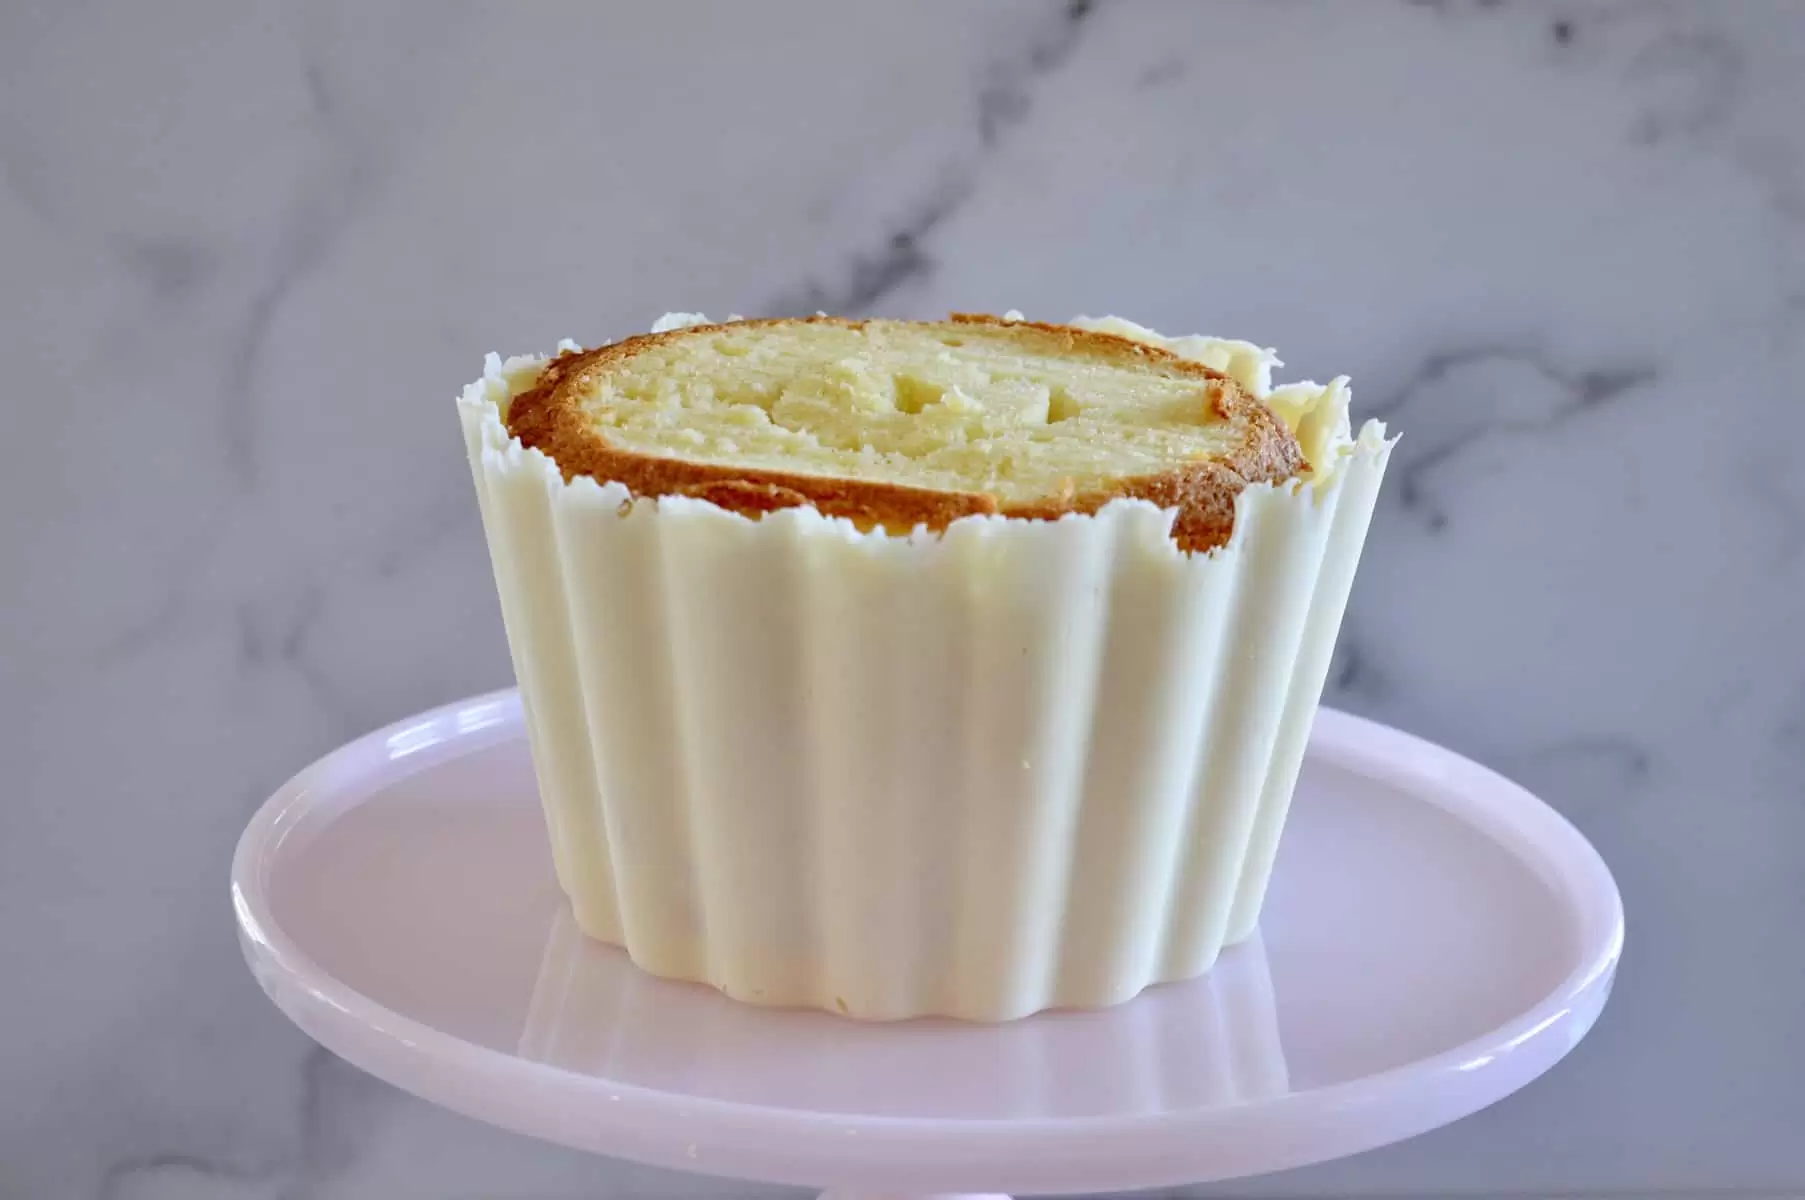
Moreover, there is no need to worry if the cake and liner don't lucifer exactly or if you lot have cracks in your liner. You'll cover information technology all up when add the meridian and frosting beneath.
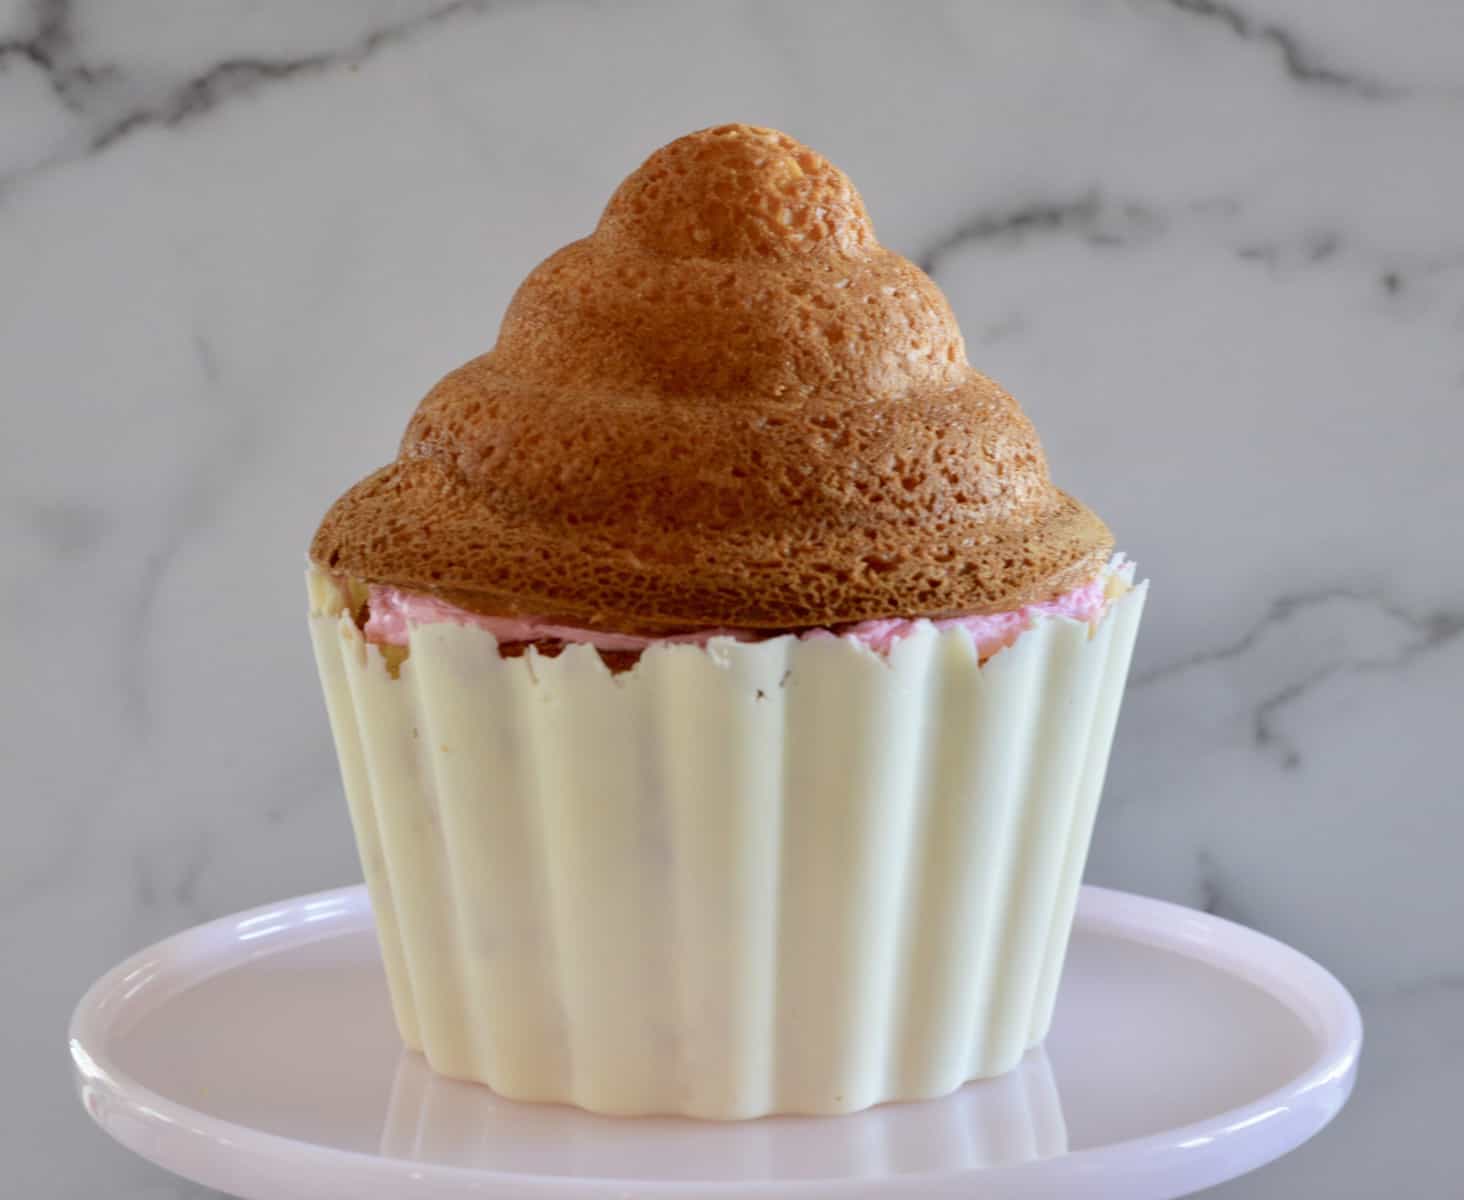
Stride 4: Frost the Cupcake Cake
For this cake, you will need a generous amount of Buttercream Frosting. You could too substitute your favorite frosting, a cream cheese frosting would be great! In one case the frosting is made add in your desired color and spread on the superlative of the base of operations of the cupcake.
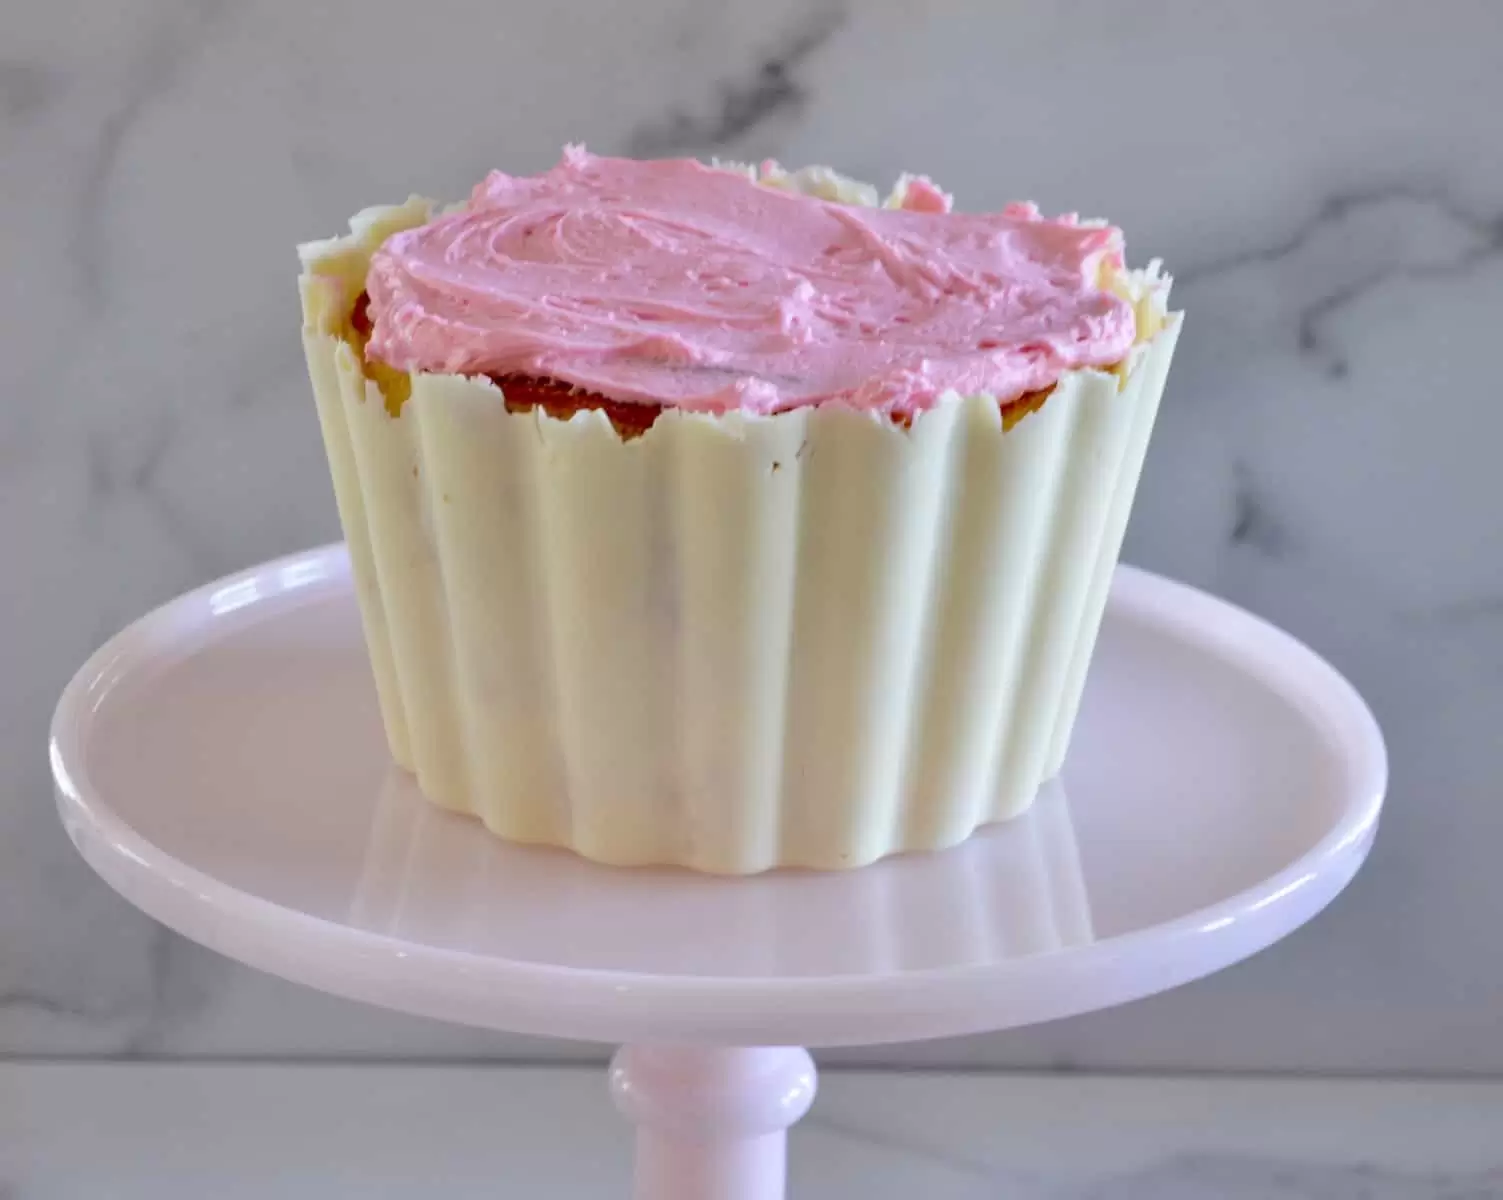
Next, carefully place the cupcake swirl on top of the base.
Next, apply the frosting. Y'all can frost using whatever tip you like. I used a Wilton Open up Star Piping Tip and disposable decorating numberless. Use a swirling motion and make little swirls all over the block. This is also a skilful fourth dimension to hibernate any flaws on the block liner and base.
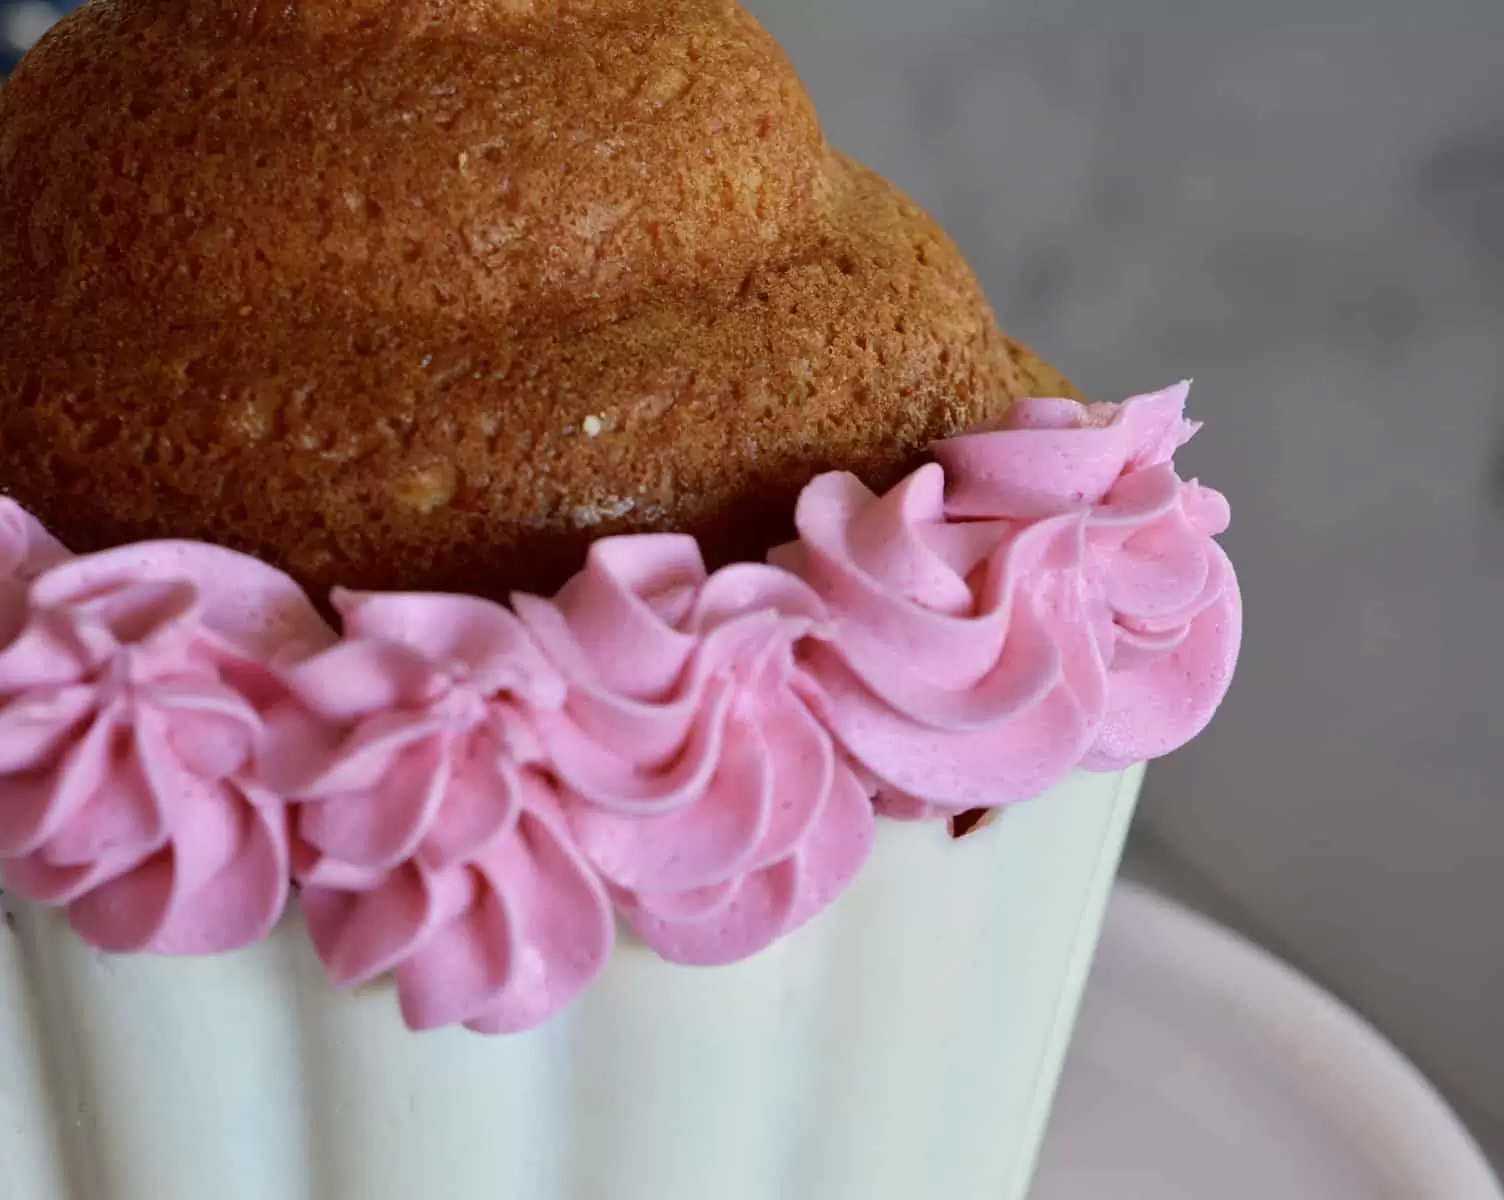
Continue frosting entire cake using swirling movement.
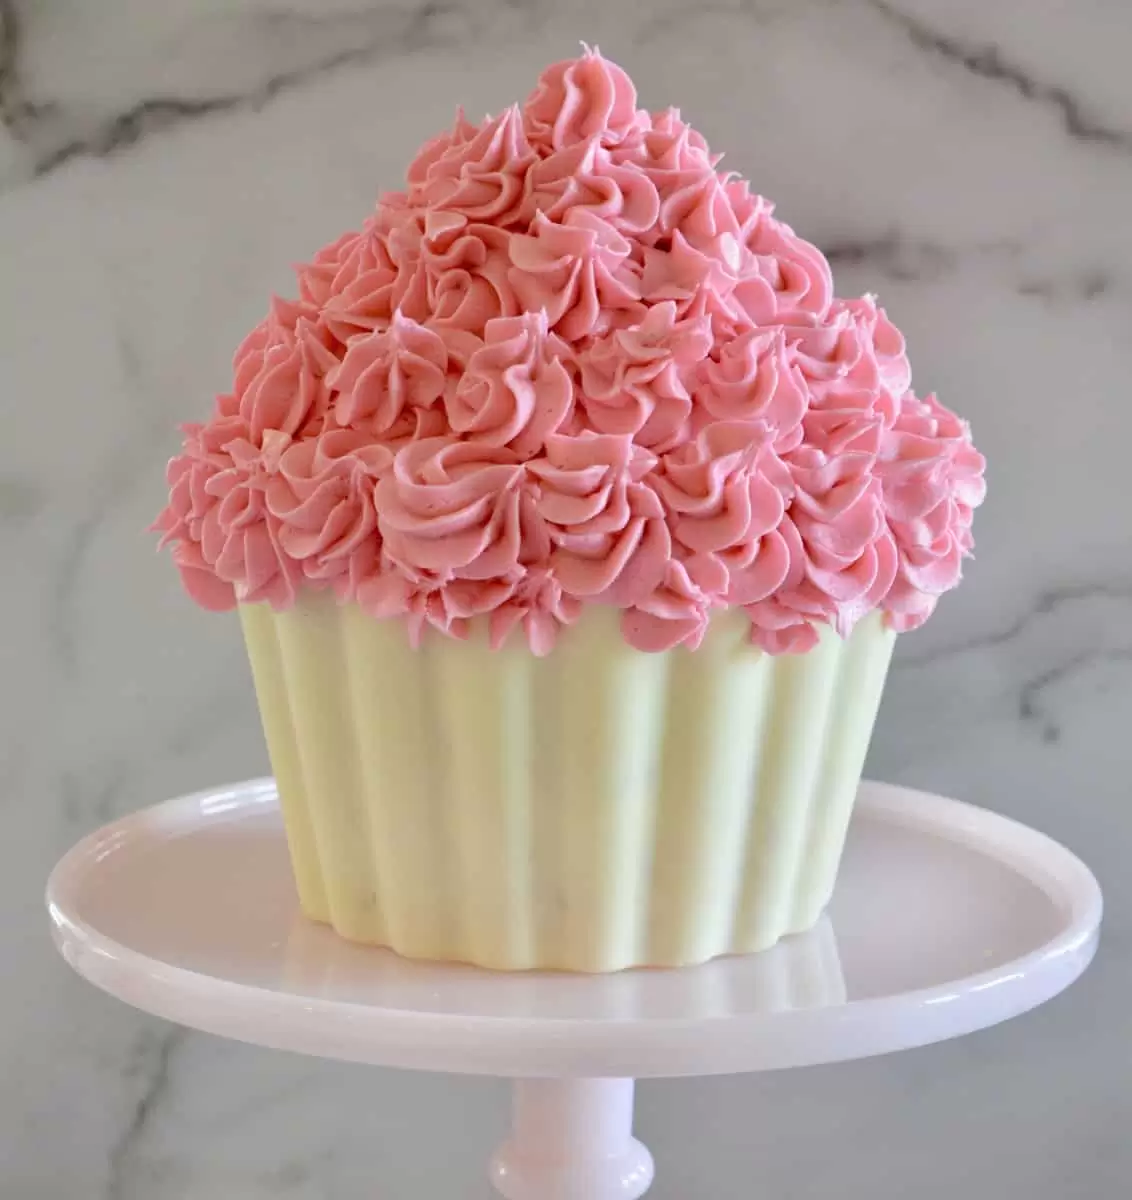
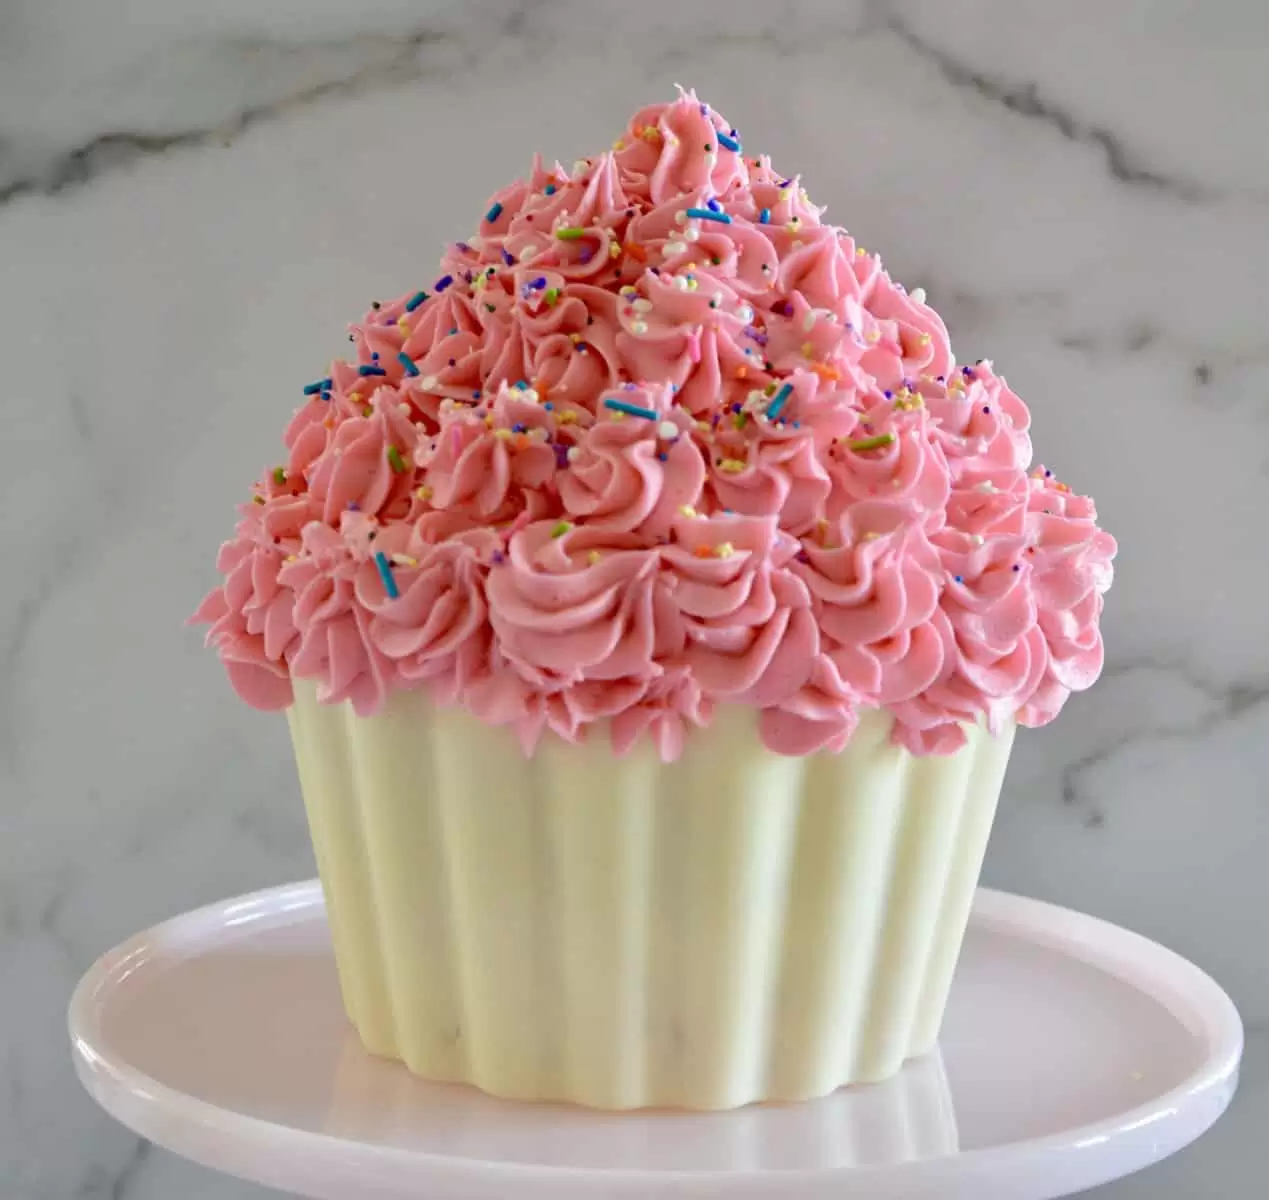
To end up the cake, decorate with sprinkles or whatsoever topping you desire to employ.
Optional: Top with a "Reddish" Truffle
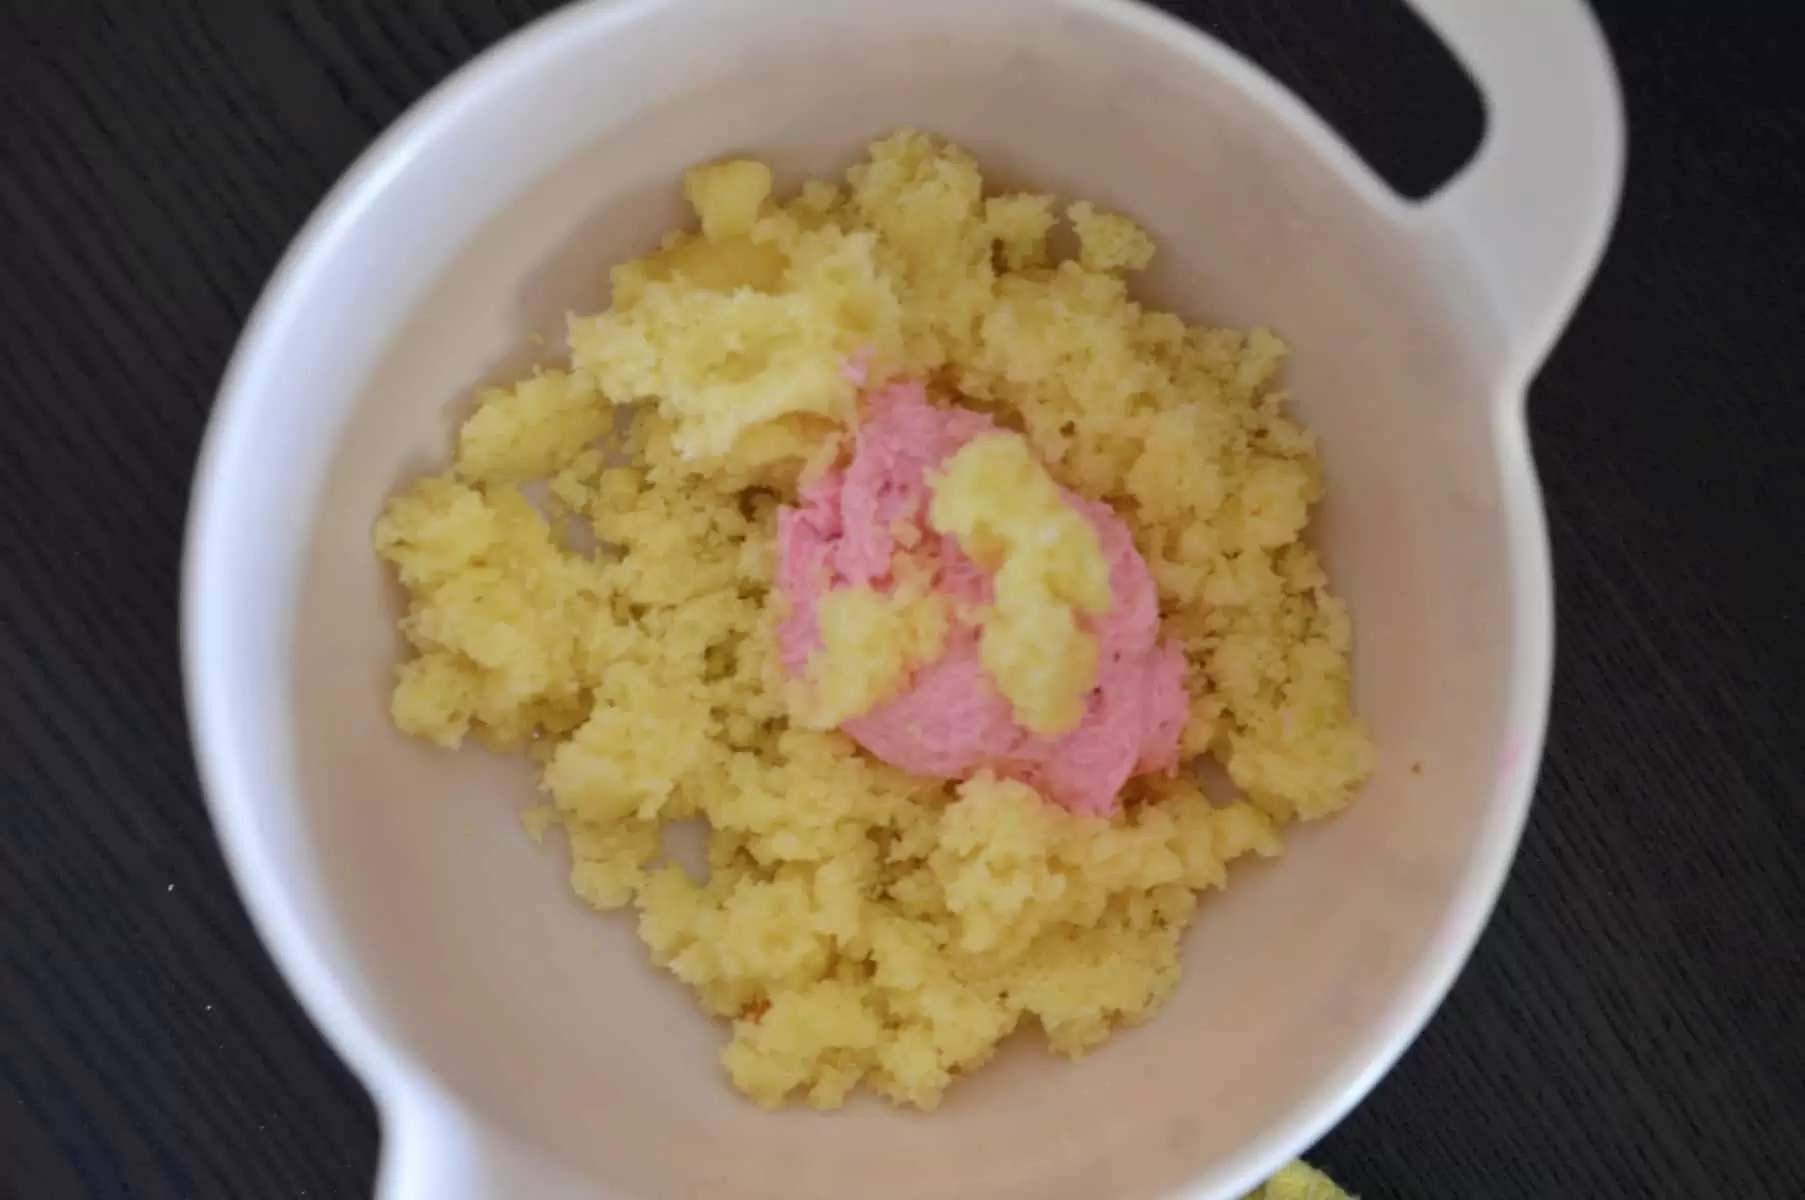
To really make your Behemothic Cupcake Block over the top, utilise the leftover cake pieces to make a carmine for the top. Firstly, take the leftover cake pieces and crumble them in a small basin. Add together plenty frosting to roll mixture into a ball.
Place the truffle ball in the freezer to harden while you lot piece of work on the red dip. Lastly, melt whatsoever remaining candy melts and add together in a few drops of red food coloring.
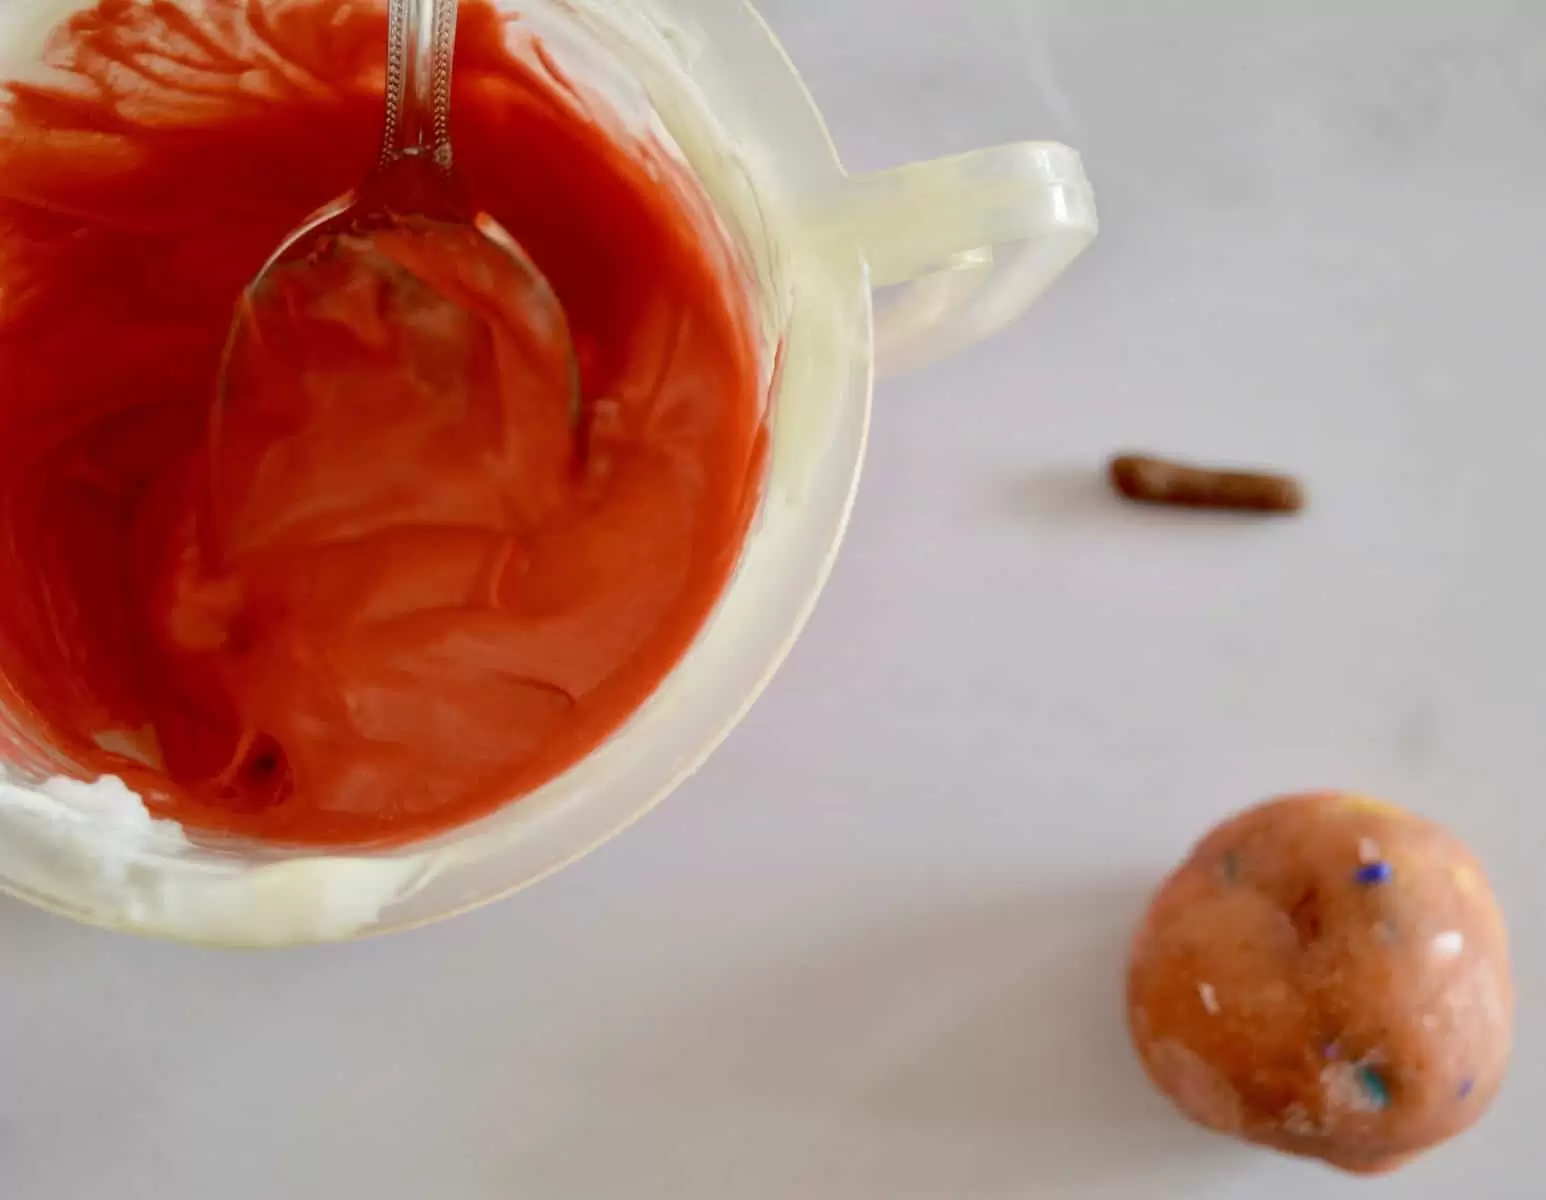
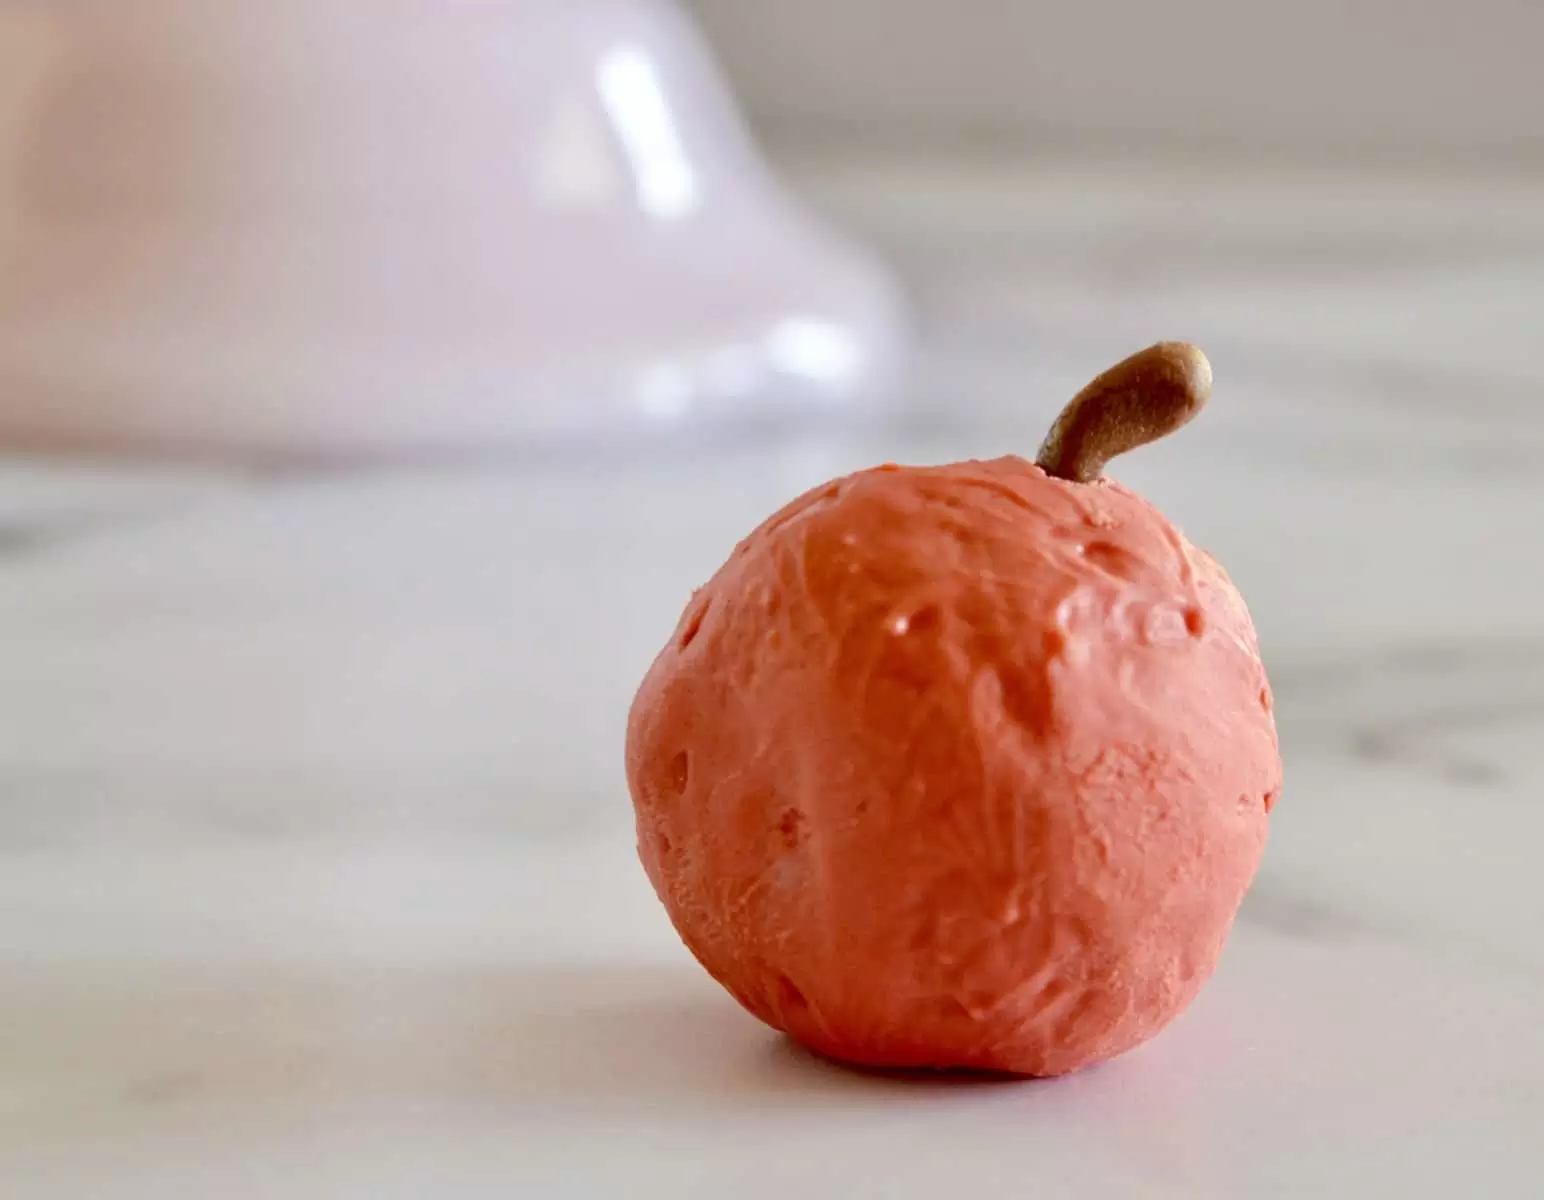
Dip the cake brawl in the candy melts and set aside to dry. To make the "stem" cutting a piece of Tootsie Roll to desired size. Use a toothpick to make a hole in the cerise and place the tootsie piece in it.
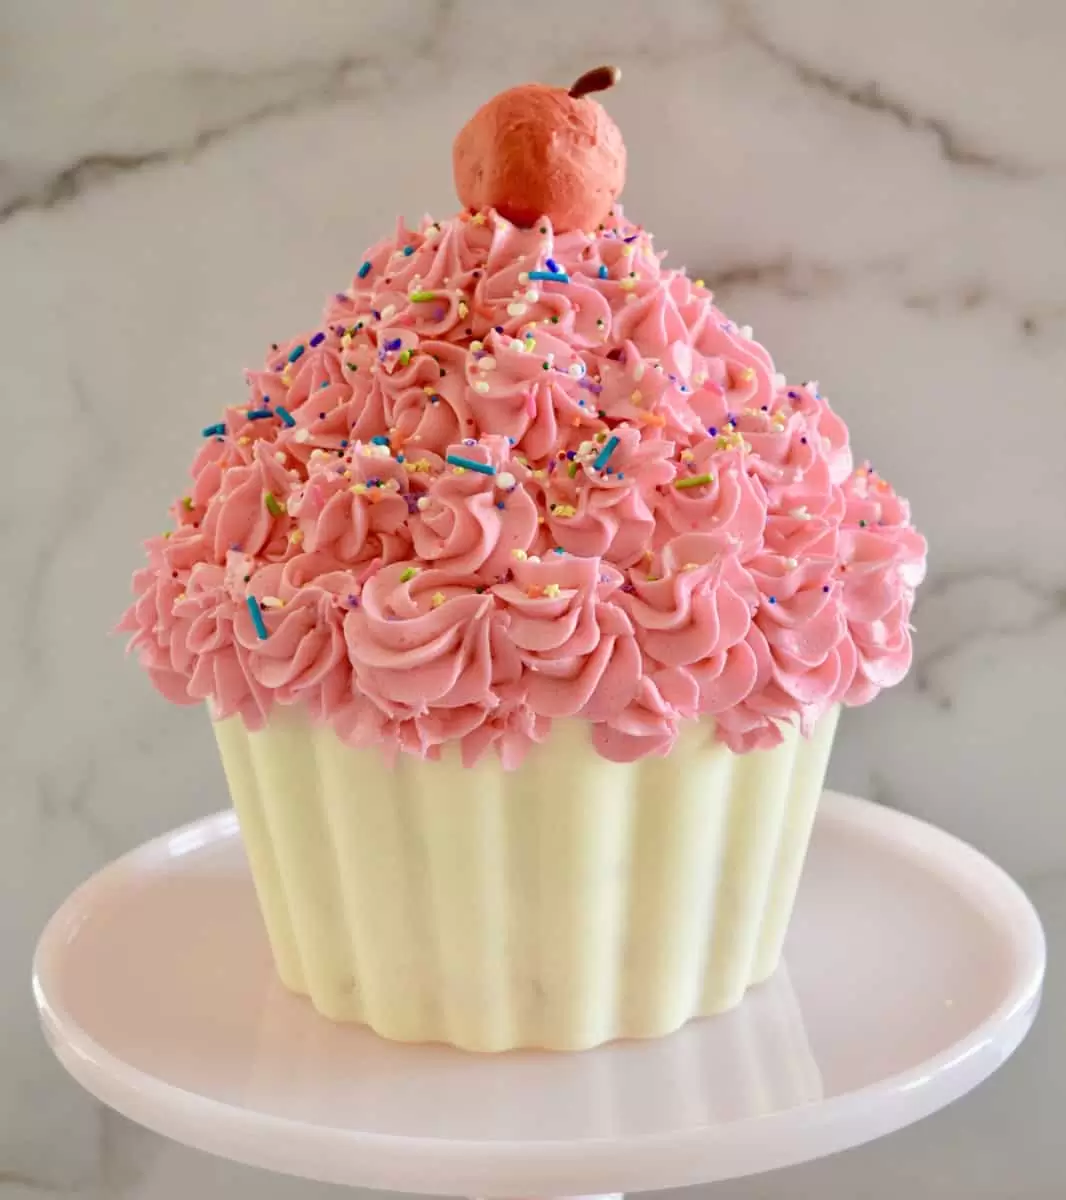
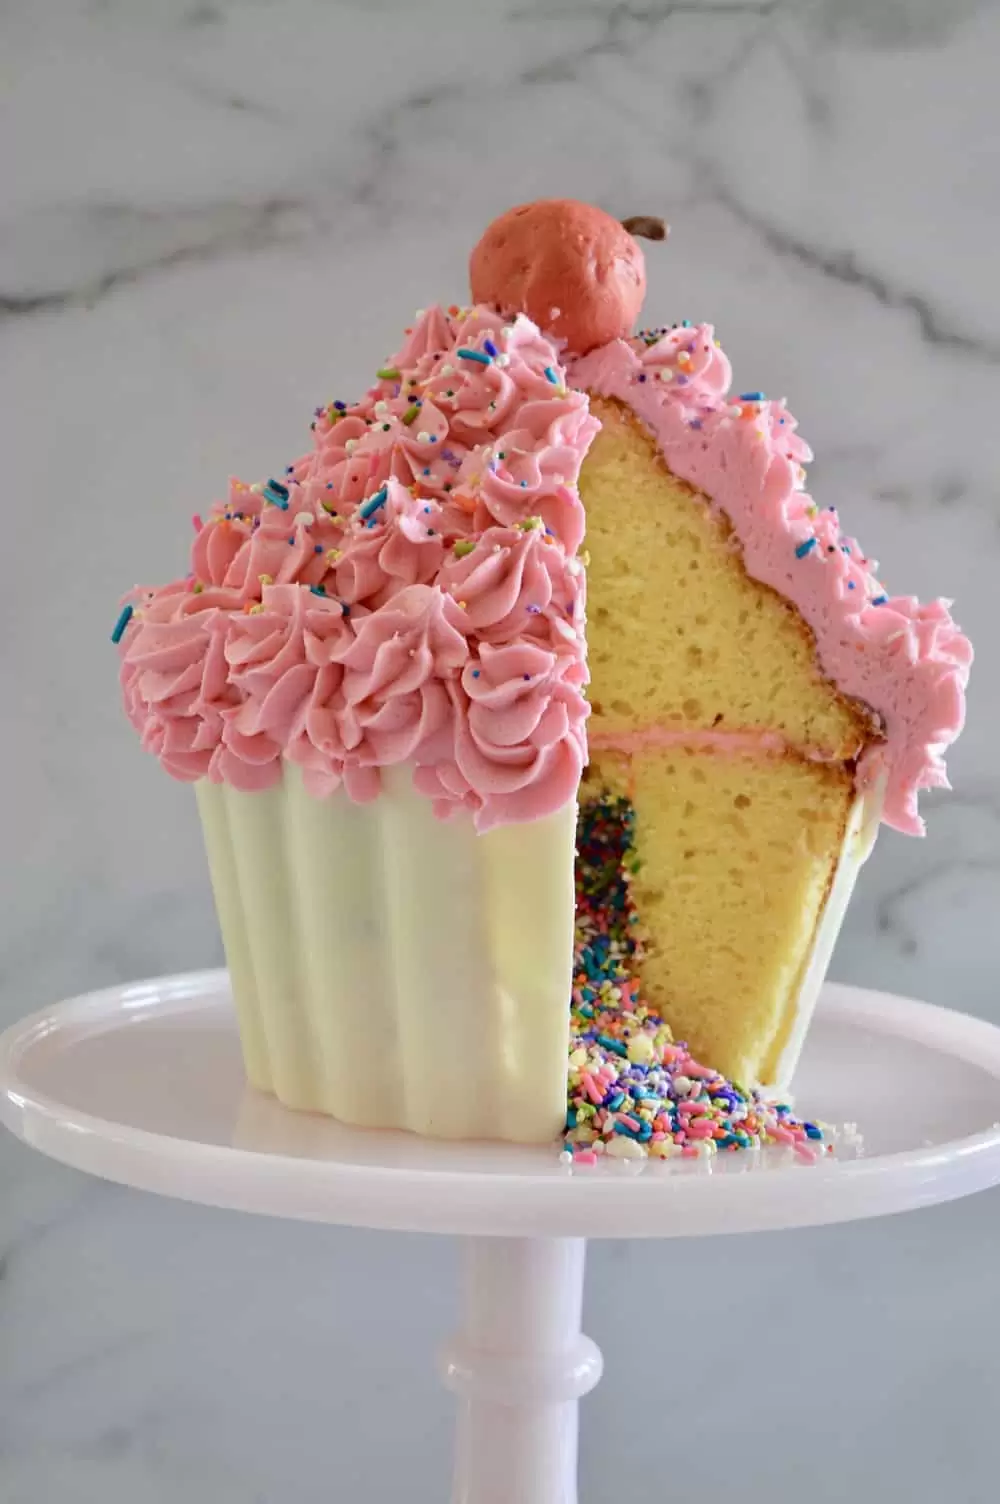
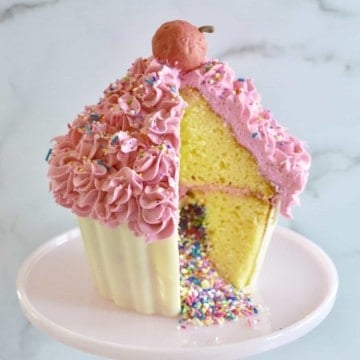
Giant Cupcake Block
And in that location yous take it! Now yous can make a super fun and festive Behemothic Cupcake Cake with but a few ingredients and a little patience. Guests will honey this cake and it's hidden sprinkle surprise!
I hope you have enjoyed this tutorial. Moreover, be certain to check out my other super fun cake tutorials:
- Hatchimals Birthday Cake
- Chocolate Toffee Caramel Cake
- Oreo Block Pops
Block Batter
- 2 boxes white cake mix (like Pillsbury)
- 1 iii.4 ounce box vanilla pudding mix (like Jell-O)
- 6 large eggs
- ⅔ cup canola oil
- two cups water
Cupcake Processed Shell Liner
- ane 12 ounce bag Wilton's Candy Melts
Buttercream Frosting
- one ½ cups butter, softened (3 sticks)
- 4 ½ cups powdered sugar
- 2 teaspoons vanilla
- 3 tablespoons milk
- food coloring
- ane loving cup sprinkles or candies (for filling and decorating)
Cake Instructions:
-
To make the cake, preheat oven to 350 degrees. In a large basin combine the Cake Batter ingredients and mix well using a handheld mixer. Spray the bottom cupcake portion of the cupcake pan with cooking spray and cascade in about 3 ½ cups of batter, or until it'southward about ii inches from the top. Identify a damp dish towel in the other side (the top of the cupcake) pan. Bake for 10 minutes. Remove from oven and carefully have out damp towel, drying the pan if there is any water remaining. Spray the cupcake elevation of the pan with cooking spray and pour in about 2 ½ cups of batter, or until information technology's nigh two inches from the pinnacle. Bake for xl – 50 minutes or until a toothpick inserted in cake comes out clean. Cool on a wire rack.
-
One time cooled, trim top and lesser of the cupcake. Reserve backlog scraps. If filling with sprinkles, cut a circle in the base of the cupcake about 2 inches wide and 4 inches deep. Fill with sprinkles. Top the sprinkles hole with a piece of remaining cake that was cut away. Lastly, trim the outside of the cupcake base then that it can sit in in the cupcake liner.
Cupcake Liner Instructions:
-
Clean and dry out the cupcake base of operations of the cupcake pan. Cook the entire pocketbook of candy melts according to package instructions. Cascade half of the melted processed into the base of the cupcake pan and use a silicone brush to brush up sides of cupcake wall. Place in fridge to harden for five minutes. Pour in remaining melted processed melts and brush up sides of shell. Refrigerate until it tin exist easily removed from mold. Note that if you lot can't easily remove it, identify in freezer for a couple of minutes only until yous are able to remove the liner without cracking information technology. Place the trimmed cupcake base of operations in the candy liner.
Buttercream Frosting:
-
In a large bowl, cream together the softened butter, powdered saccharide, vanilla, and milk. Mix in desired nutrient coloring if using. Spread a thick layer of frosting on elevation of the base of operations of the cupcake and so place the height of the cupcake on it. Pour the remaining frosting in a pastry bag with desired icing tip. Pipage on swirls or desired shapes to comprehend the cupcake top and hide whatsoever cracks in the cupcake liner. Sprinkle with additional sprinkles or toppings if desired.
Cherry Elevation:
-
To brand the cherry top, place the backlog scraps of block in a bowl and break into crumbs. Add together in plenty of the remaining frosting to grade cake into a 2 inch round ball. Freeze for a couple of minutes. Microwave any remaining candy melts and add together red nutrient coloring. Dip the block ball in the candy melts and let dry. To make the "stalk" trim a piece of Tootsie Roll into a small cylinder stem shape. Utilize a toothpick to make a hole in the cherry and insert stem. Place on pinnacle of the cake.
Make-Ahead! You tin can make this entire block upward to two days in advance, just store in an closed container in the refrigerator. Also, y'all tin make the cake layers up to a month in advance and freeze until ready to assemble.
Calories: 491 kcal

How To Make Large Cupcakes For Outside Decorations,
Source: https://thisdelicioushouse.com/giant-cupcake-cake/
Posted by: devitabeary1959.blogspot.com
0 Response to "How To Make Large Cupcakes For Outside Decorations"
Post a Comment